>>

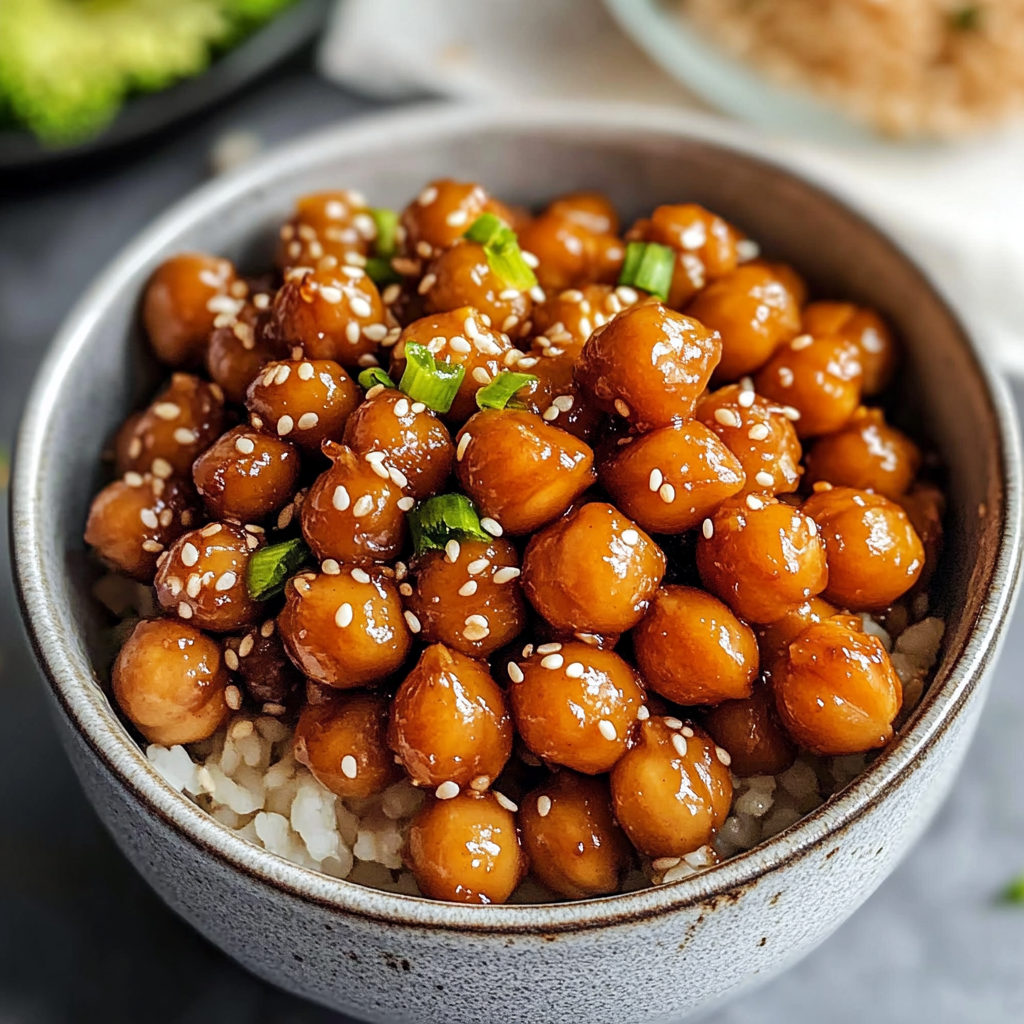
A quick, 15-minute vegan dinner: chickpeas glazed in a sticky sesame-tamari sauce. Perfect for meal prep, bowls, and weeknight dinners.
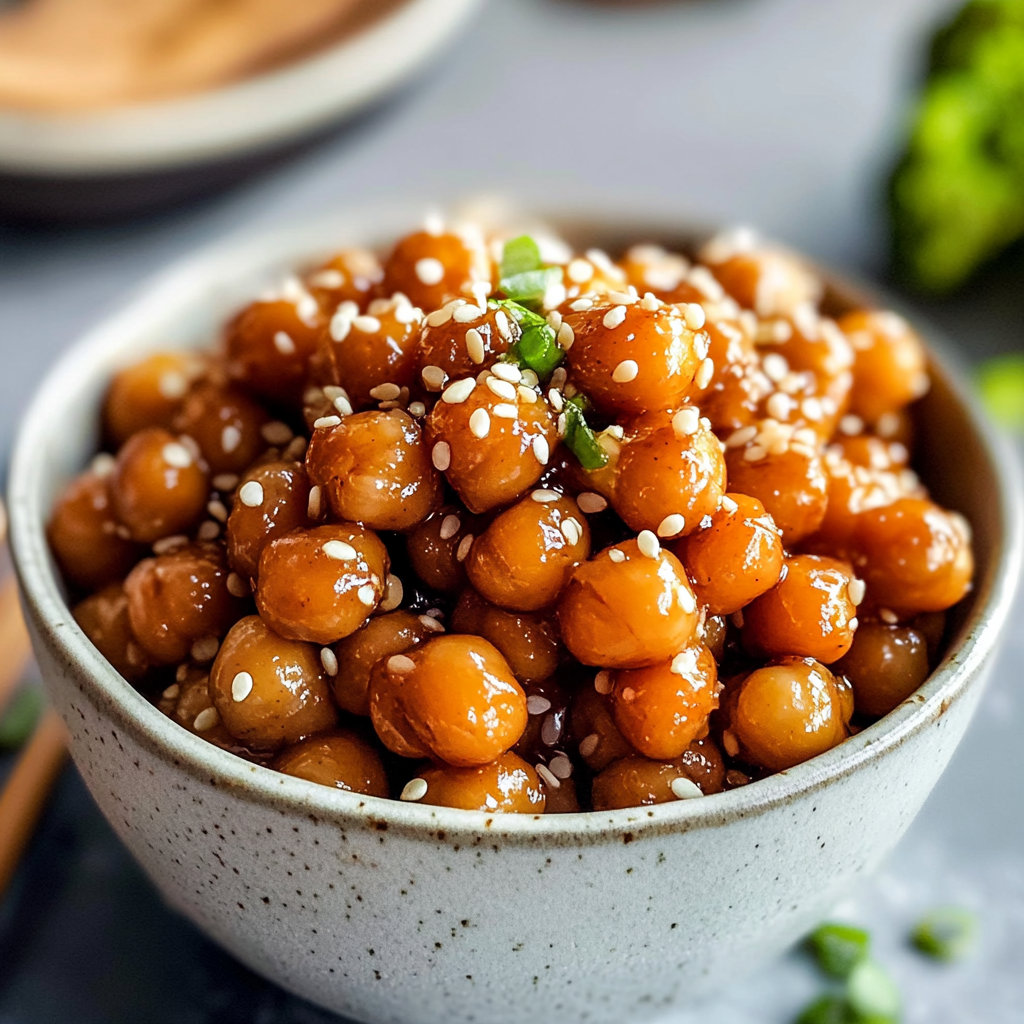
This sticky sesame chickpea dish has been a go-to in my kitchen for busy weeknights and lazy Sunday meal prep sessions. I first developed this version during a week when my fridge contained mostly pantry staples and I needed something fast, satisfying, and family-friendly. The chickpeas caramelize slightly as the sauce thickens into a glossy glaze, delivering contrasting textures: soft, tender chickpeas with a sticky exterior studded with fragrant toasted sesame oil and garlic. It’s one of those recipes that feels like a treat yet comes together in the time it takes to cook rice.
I remember the first time I served it to friends who thought it was takeout. They were surprised it was entirely plant-based and that it used canned beans rather than hours of simmering. Over the years I’ve refined the balance of maple sweetness, tamari saltiness, and a hint of rice vinegar brightness so the glaze clings to every chickpea. The result is bright, savory, slightly sweet, and perfectly sticky—great spooned over steamed broccoli and fluffy rice or tucked into a wrap for lunch the next day.
On a personal note, this recipe quickly became a crowd-pleaser at my house. My teenage niece asks for it for her lunches, and I love that I can make a double batch on Sunday to power us through the busiest part of the week. It’s also a forgiving formula: if you like more heat, add red pepper flakes; if you want it sweeter, a touch more maple does the trick.
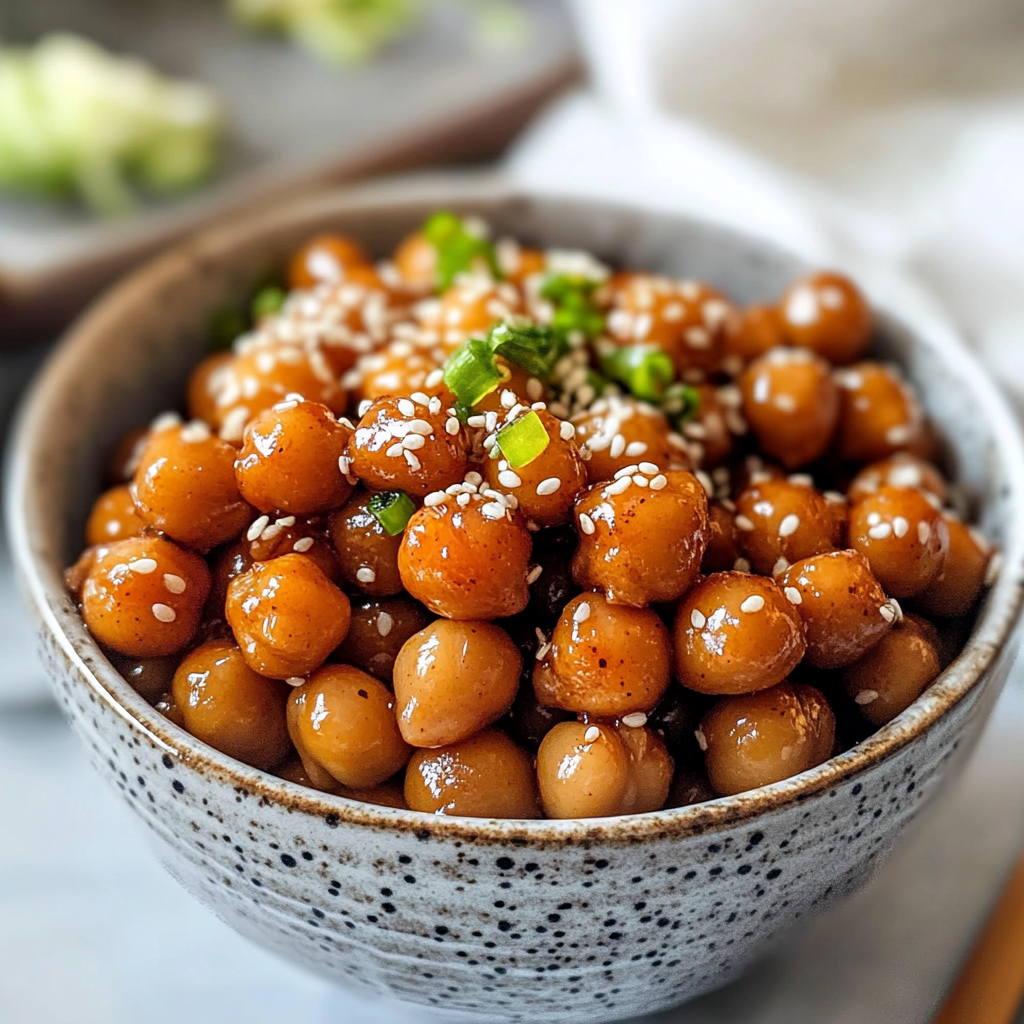
My favorite aspect is how this transforms simple canned beans into something that feels indulgent: glossy, slightly caramelized, and full of umami. The sticky coating clings to rice and vegetables, making every bite satisfying. Family members often comment that it tastes like a restaurant dish, which is especially rewarding when the whole meal comes together in under 20 minutes.
Store leftovers in an airtight container in the refrigerator for up to four days. Allow the chickpeas to cool to room temperature before sealing to prevent condensation and sogginess. For longer storage, portion into freezer-safe containers or resealable bags and freeze for up to three months. When reheating from frozen, thaw overnight in the refrigerator if possible and reheat gently in a pan with a splash of water or broth to loosen the glaze; microwave reheating is fine for single portions but stir halfway through to ensure even heating.
If tapioca starch isn’t available, use cornstarch or arrowroot at a 1:1 ratio. For a soy-free version, experiment with coconut aminos (note it’s less salty and slightly sweeter). Swap maple syrup for brown sugar or honey if not strictly vegan—start with 2 tablespoons and adjust to taste. If you prefer a smokier note, add 1/2 teaspoon smoked paprika or a drop of liquid smoke; for extra heat, increase red pepper flakes or add a dash of sriracha into the sauce before thickening.
Serve the chickpeas over steamed jasmine or brown rice with a side of blanched or roasted broccoli for a complete meal. Garnish with toasted sesame seeds, sliced scallions, and a squeeze of lime for brightness. They also work well over a mixed green salad for a warm bowl-style lunch or stuffed into pita pockets with crunchy slaw and a drizzle of plain vegan yogurt or tahini for contrast. Pair with pickled cucumbers for acidity that cuts through the sweetness.
Make a double batch and portion into individual microwave-safe containers for grab-and-go lunches. Cook the rice in bulk and portion separately to keep grains from absorbing excess sauce. Label containers with dates and include a wedge of lime to squeeze on before serving; acidity freshens up reheated portions. For best texture, reheat on the stovetop in a skillet with a splash of water and finish with a quick high-heat toss to revive the glaze.
In colder months, add a teaspoon of toasted sesame paste or tahini to the sauce for extra richness and warmth. During spring and summer, brighten the dish with fresh grated ginger, chopped cilantro, and thinly sliced radishes for contrast. Swap maple for a touch of apricot jam in midsummer for a fruitier glaze, or add roasted squash cubes in fall for heartier bowls. These small seasonal tweaks keep the formula fresh year-round.
When I serve this to guests, I love watching the surprise on their faces when they learn it’s vegan and so quick. It’s one of those dishes that proves convenience and good flavor can coexist. Give it a try, adapt it to your pantry, and make it your own — I wager it’ll become a staple in your rotation, too.
Pat chickpeas dry after rinsing to help the glaze stick and reduce excess water in the pan.
Use a garlic press or very fine mince so garlic distributes evenly and doesn’t create large raw pieces.
If the sauce won't thicken, dissolve an additional teaspoon of arrowroot or tapioca in cold water and stir in while simmering.
Taste the sauce before adding chickpeas to adjust saltiness and sweetness; tamari and maple can vary by brand.
This nourishing vegan sticky sesame chickpeas recipe is sure to be a staple in your kitchen. Enjoy every moist, high protein slice — it is perfect for breakfast or as a wholesome snack any time.
Yes. Use tamari (gluten-free) or low-sodium soy sauce if you aren't sensitive to gluten.
Store in an airtight container in the fridge for up to 4 days or freeze for up to 3 months.
This Vegan Sticky Sesame Chickpeas recipe makes perfectly juicy, tender, and flavorful steak every time! Serve with potatoes and a side salad for an unforgettable dinner in under 30 minutes.
Drain and rinse two 15-ounce cans of chickpeas and pat dry. Mince 3–4 garlic cloves or press them for a fine consistency.
Heat 1 tablespoon oil in a large sauté pan over medium heat. Add garlic and cook 1–2 minutes until fragrant but not browned.
Whisk 1 tablespoon tapioca starch with 2 tablespoons broth until smooth. Add tamari, toasted sesame oil, maple syrup, rice vinegar, ginger, and remaining broth to the pan and combine.
Stir in the starch slurry, bring to a gentle simmer until bubbles form, then add chickpeas and stir to coat. Simmer on low until the sauce becomes thick and sticky, about 4–6 minutes.
Remove from heat and let sit 2–3 minutes to allow flavors to settle. Serve over rice, quinoa, or steamed vegetables and garnish to taste.
Last Step: Please leave a rating and comment letting us know how you liked this recipe! This helps our business to thrive and continue providing free, high-quality recipes for you.
Leave a comment & rating below or tag
@sararecipes on social media!
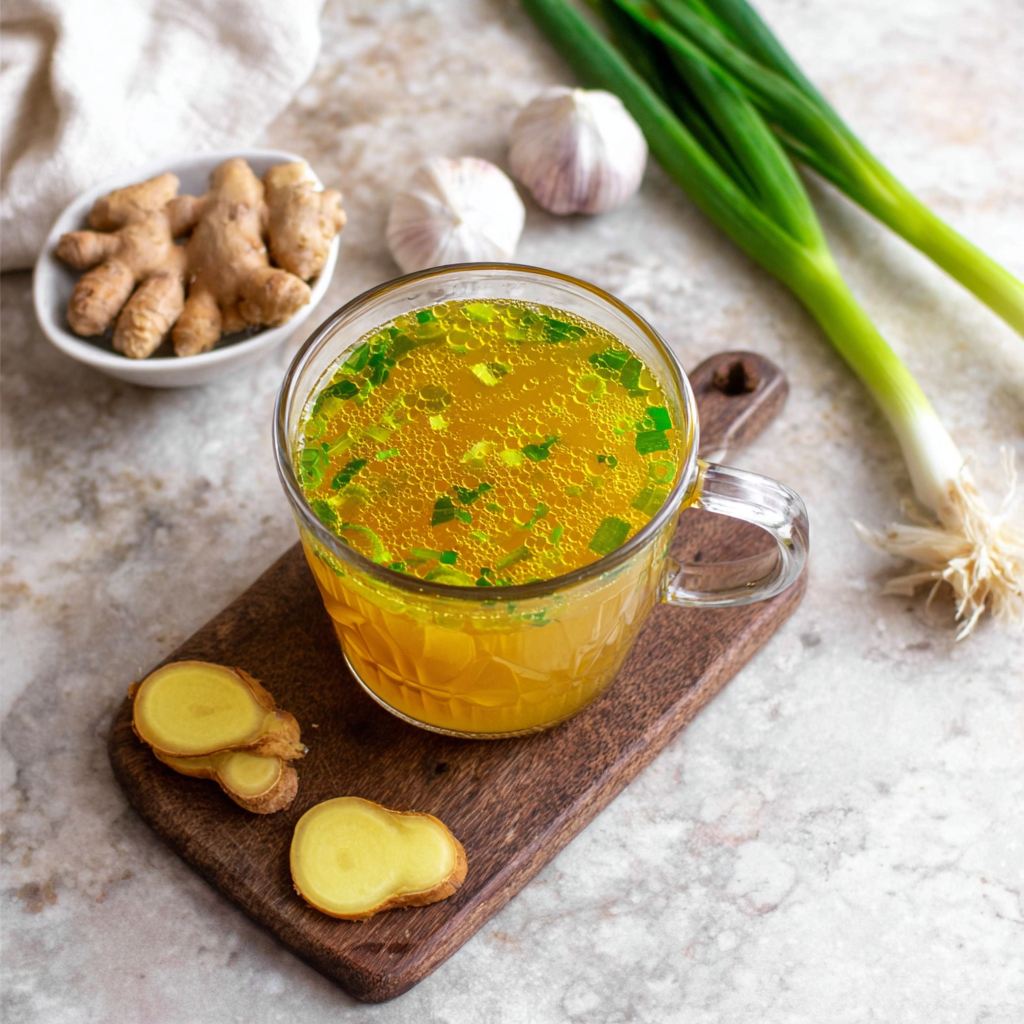
A bright, restorative broth ready in ten minutes—packed with garlic, ginger, miso and turmeric to support immunity and soothe the soul.
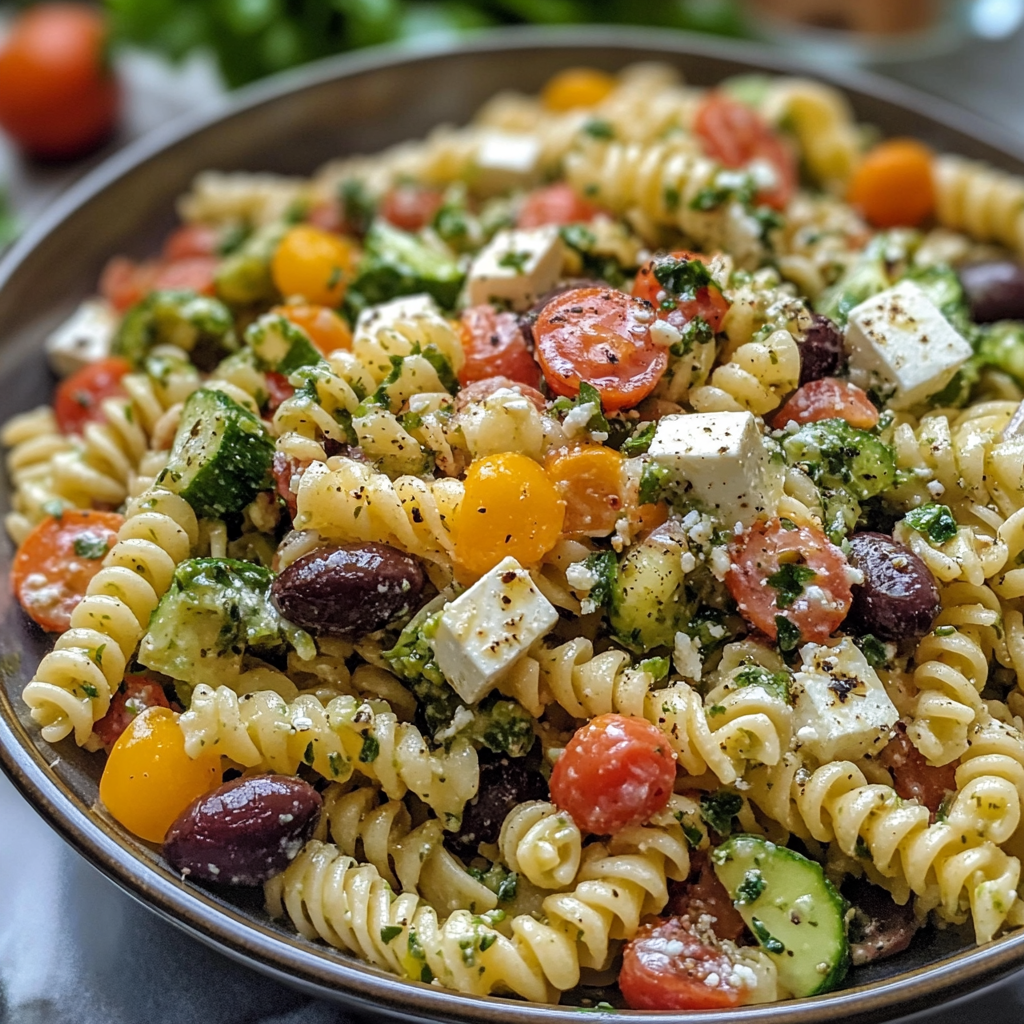
A bright, 20-minute Greek pasta salad loaded with crisp cucumber, cherry tomatoes, Kalamata olives, feta, and a tangy tzatziki vinaigrette — perfect for summer gatherings or easy meal prep.
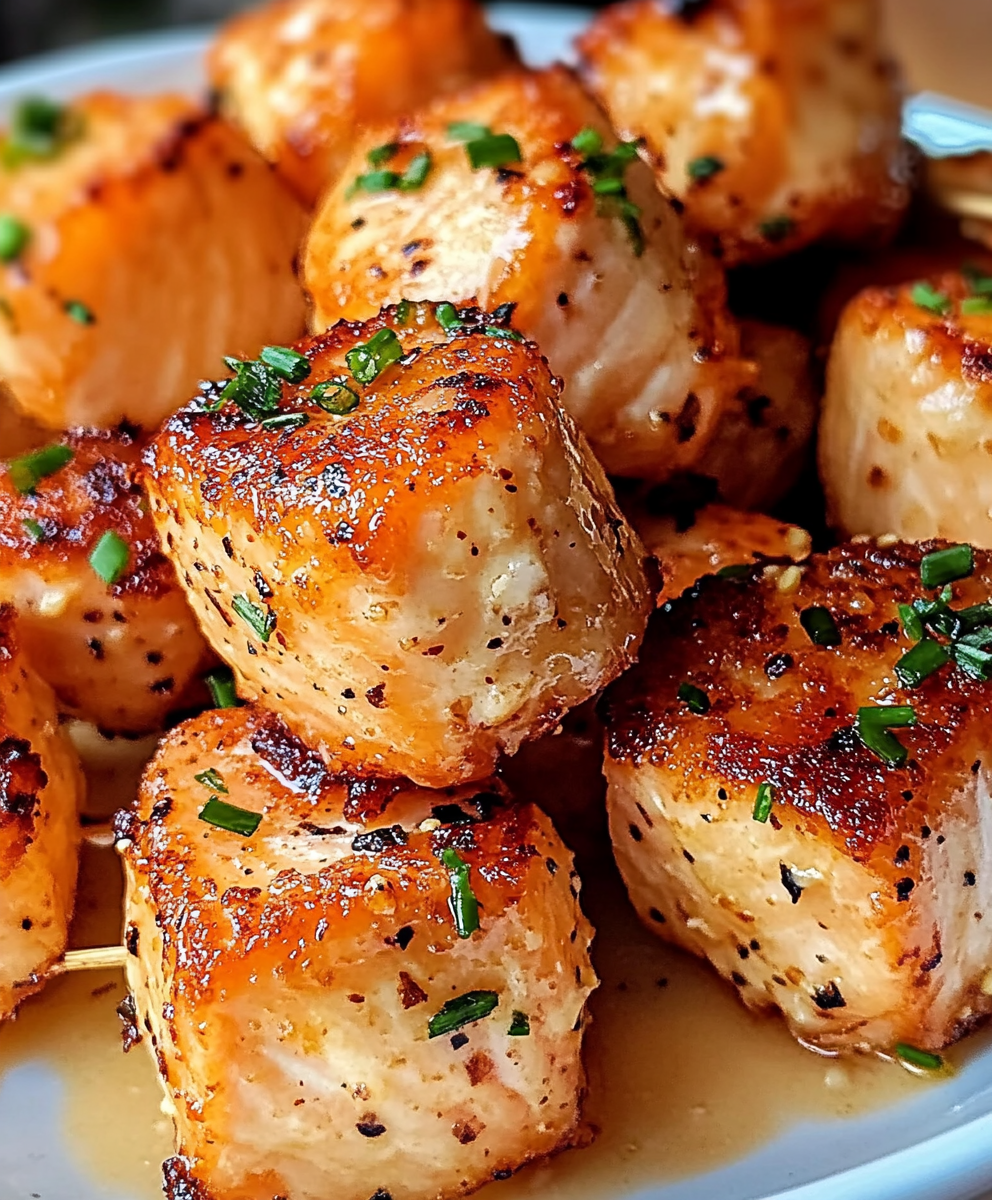
Crispy-tender salmon bites tossed in a creamy, sweet-spicy bang bang sauce — ready in about 20 minutes using an air fryer or oven.
Leave a comment & rating below or tag @sararecipes on social media!
Enjoyed this recipe? Share it with friends and family, and don't forget to leave a review!
This recipe looks amazing! Can't wait to try it.
Comments are stored locally in your browser. Server comments are displayed alongside your local comments.
Join to receive our email series which contains a round-up of some of our quick and easy family favorite recipes.