Sticky Garlic Chicken Noodles

A quick, weeknight-friendly stir-fry of tender chicken, chewy noodles, and a sticky garlic-soy-honey glaze — ready in 20 minutes and perfect for meal prep.
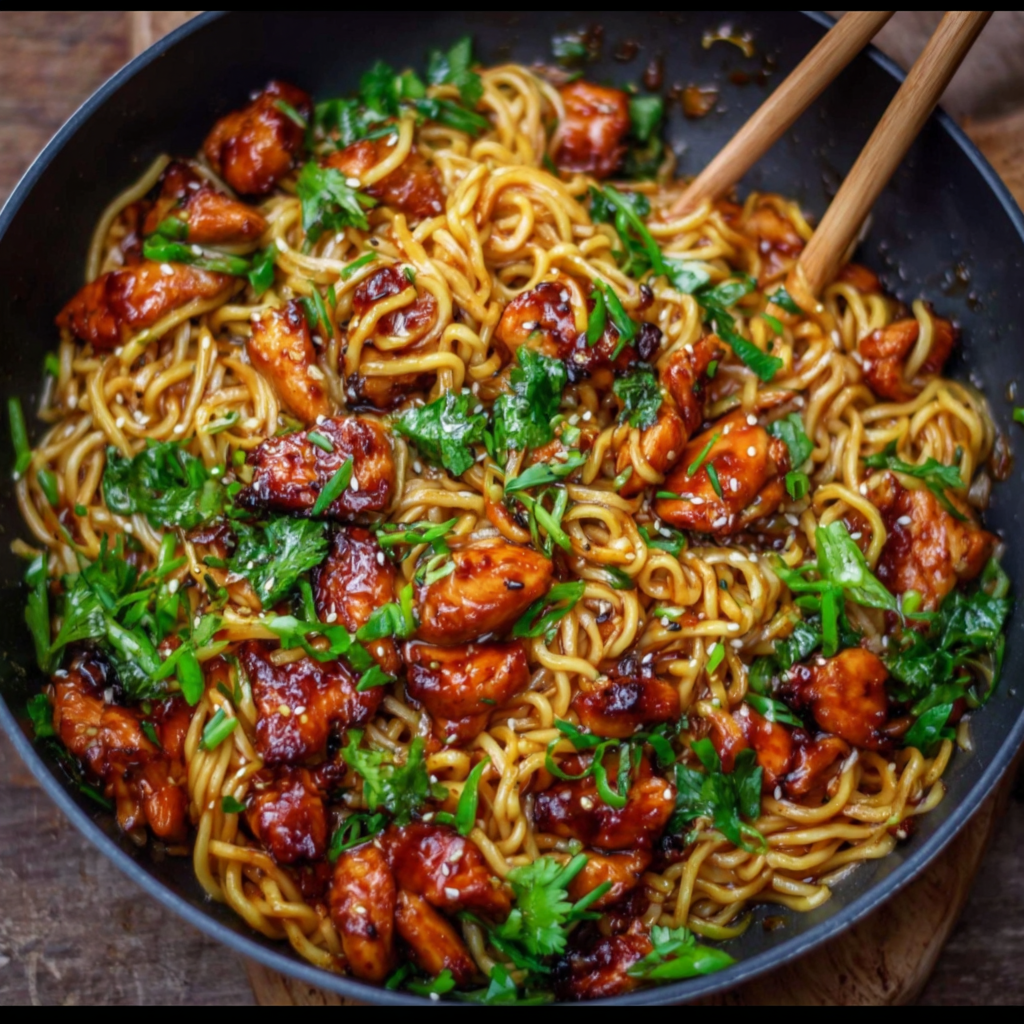
This Sticky Garlic Chicken Noodles dish became a weekday lifesaver the moment I nailed the balance of sweet, salty, and garlicky heat in a single pan. I first put this combination together on a rushed Tuesday evening when the fridge had a lonely chicken breast and a packet of noodles. The sticky, glossy sauce clung to every bite, and before I knew it my family had polished off the bowl in record time. The texture — tender chicken with slightly chewy noodles and a sauce that tastes layered rather than one-note — is what keeps me coming back.
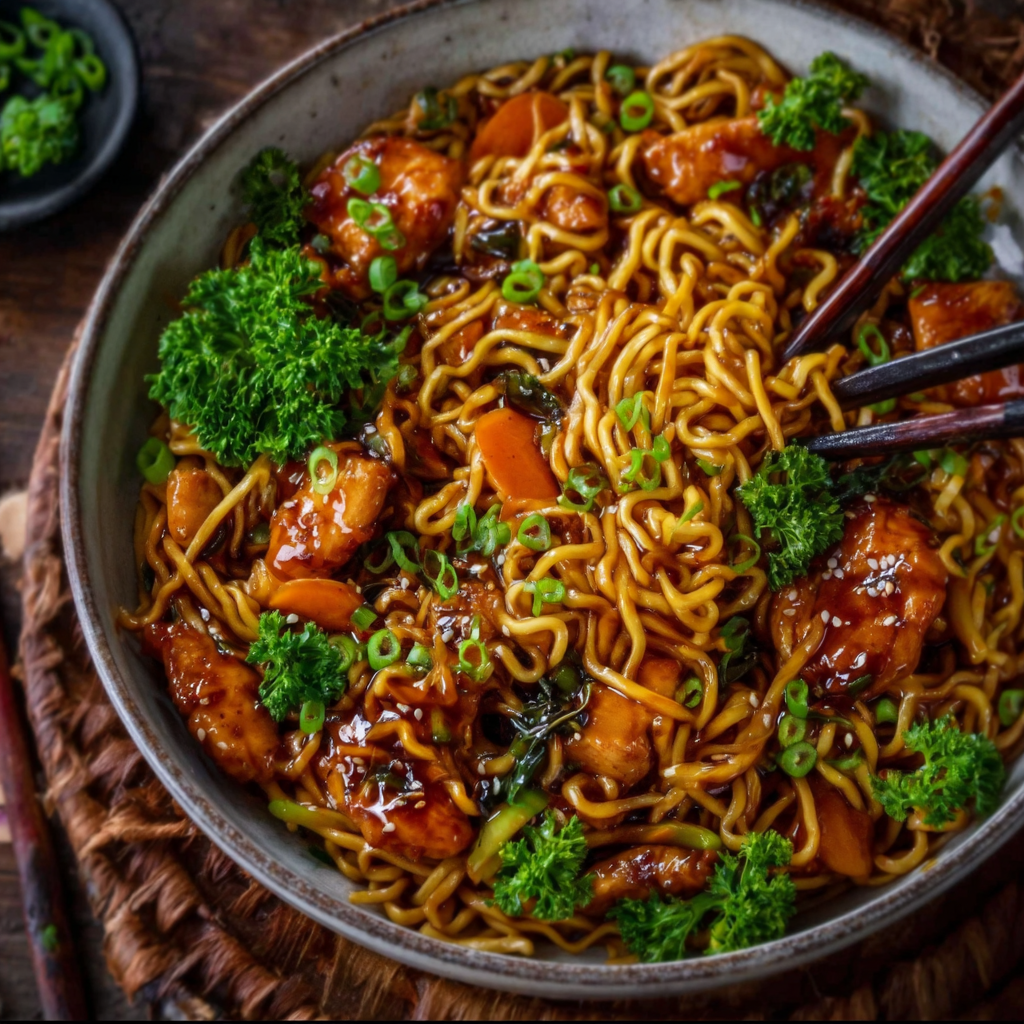
I love how quickly this comes together: a short marinade-style toss, a hot skillet, and everything finishes in about 20 minutes. There’s a simple theatre to it — the sizzle when the chicken hits the oil, the satisfying thicken of sauce when honey and cornstarch meet heat, and the bright pop of sliced green onions on top. It’s a go-to when I want comfort without fuss, and it scales well for guests or meal-prep lunches during busy weeks.
Why You'll Love This Recipe
- Fast turnaround: ready from start to finish in about 20 minutes, ideal for busy weeknights and last-minute gatherings.
- Pan-friendly: everything finishes in a single skillet or wok, minimizing cleanup while concentrating flavor in the sauce.
- Accessible ingredients: uses common pantry staples — soy sauce, honey, garlic, and cornstarch — with easy swaps for dietary needs.
- Texture contrast: tender bite-sized chicken pieces meet chewy rice or egg noodles and a glossy, slightly sticky coating.
- Make-ahead friendly: sauce can be prepared and stored, and cooked noodles keep well for reheating and tossing with warmed chicken.
- Crowd-pleaser: mild heat and sweet balance appeal to kids and adults alike, and protein add-ins or vegetables make it versatile.
On the first night I served this, my partner declared it "restaurant-level" and immediately asked for the recipe. Since then I’ve made small adjustments — more garlic, a touch of grated ginger, and a quick toss with sesame seeds — to refine the sticky glaze. It’s become our default when we want something comforting but not heavy, and it’s one of those dishes that tastes just as good as leftovers the next day.
Ingredients
- Chicken (1 lb): Use boneless, skinless chicken breast or thighs cut into 1-inch pieces. Thighs give a slightly juicier result; breasts are leaner. Look for fresh, evenly sized pieces for even cooking.
- Soy sauce (1/4 cup): The backbone of the glaze. I prefer a naturally brewed soy sauce such as Kikkoman for depth; use tamari for gluten-free cooking.
- Honey (3 tbsp): Adds sweetness and shine to the sauce. Light floral honey works well; use maple syrup for a different flavor if desired.
- Garlic (4 cloves, minced): Fresh minced garlic is essential — it gives a bright, savory bite. Pre-minced jars work in a pinch but have less freshness.
- Fresh ginger (1 tsp, grated): Adds a warm, zesty lift that cuts the sweetness of honey. Avoid powdered ginger here for the best aromatic result.
- Red chili flakes (1/2 tsp, optional): For a subtle heat. Adjust to taste or omit for a kid-friendly version.
- Cornstarch (2 tbsp): Tossed with the chicken to give it a slight crust and to help thicken the sauce into that desirable sticky glaze.
- Vegetable oil (2 tbsp): Neutral oil with a high smoke point is best; peanut oil adds a subtle nutty note if you’re not allergic.
- Noodles (8 oz): Rice noodles or egg noodles both work. Rice noodles give a lighter texture; egg noodles are chewier and more filling. Cook according to package directions.
- Green onions (2, chopped) and sesame seeds (1 tsp, optional): For finishing — they add freshness and visual contrast.
Instructions
Make the sauce: In a medium bowl, whisk together 1/4 cup soy sauce, 3 tablespoons honey, minced garlic, 1 teaspoon grated ginger, and 1/2 teaspoon red chili flakes if using. Taste and adjust the balance — it should be noticeably savory with a sweet lift. Set aside; the sauce will both flavor and glaze the chicken. Coat the chicken: Toss 1 pound of bite-sized chicken pieces with 2 tablespoons cornstarch until evenly coated. This light dusting creates a slightly crisp exterior and helps the sauce cling when added later. Shake off excess cornstarch so you don’t end up with clumps in the pan. Heat the pan: Warm a large skillet or wok over medium-high heat and add 2 tablespoons vegetable oil. The pan should be hot enough that a drop of batter sizzles immediately; this ensures a quick sear rather than steaming the meat. Cook the chicken: Add the coated chicken in a single layer, working in batches if needed to avoid overcrowding. Cook until golden and cooked through, about 6–8 minutes total, turning pieces once so all sides brown evenly. Juices should run clear and the internal temperature should reach 165°F. Simmer with the sauce: Pour the prepared sauce over the hot chicken and stir to coat. Bring to a gentle simmer and cook for 2–3 minutes until the sauce thickens and becomes glossy. The cornstarch on the chicken will help the sauce cling and intensify the shine. Cook the noodles: Meanwhile, cook 8 ounces of noodles according to package instructions. Drain and toss with a teaspoon of oil to prevent sticking. Rice noodles typically require a soak or brief boil; egg noodles usually boil for 3–5 minutes until al dente. Toss and finish: Add the drained noodles to the skillet and toss gently to combine with the chicken and sauce. Heat through for 1–2 minutes so the noodles absorb flavor. Finish with chopped green onions and a sprinkle of sesame seeds before serving.
You Must Know
- This dish freezes well for up to 3 months if you freeze chicken and sauce separately from noodles; thaw overnight in the refrigerator before reheating gently.
- High in protein: each serving contains around 28 grams of protein, making it a balanced main with carbohydrates from the noodles.
- Sodium can be high due to soy sauce; use low-sodium soy sauce to cut the salt level by nearly half without losing umami.
- Vegetables add fiber and color: toss in sliced bell peppers, broccoli florets, or snap peas in the final toss for extra nutrition and crunch.
- For thicker glaze, increase cornstarch slightly or simmer a minute longer until desired consistency is reached.
What I love most about this recipe is its elasticity — a few swaps or additions completely change the profile yet the core technique still works. Friends who usually avoid takeout tell me this rivals their favorite delivery spots. It’s a reliable formula: sear the protein, build the sauce, and finish by tossing in noodles so every strand picks up a shimmering layer of flavor.
Storage Tips
Store leftovers in airtight containers: keep chicken and sauce together for short-term storage, or separate noodles for longer quality. In the refrigerator, consume within 3–4 days. For freezing, place sauce and chicken in a freezer-safe container and label with the date; noodles can become softer when frozen, so I prefer to freeze only the protein and sauce for up to 3 months. Reheat on the stovetop over medium-low heat with a splash of water or broth to loosen the glaze, then add freshly cooked noodles or gently reheat previously cooked noodles in a hot skillet with a touch of oil to revive chewiness.
Ingredient Substitutions
If you need gluten-free, swap soy sauce for tamari and choose certified gluten-free rice noodles. For a vegan version, replace chicken with firm tofu (pressed and pan-seared) and use maple syrup in place of honey. Shrimp or thinly sliced beef are excellent alternatives — reduce cooking time for shrimp to 2–3 minutes. If you want less sweetness, reduce honey to 2 tablespoons and add 1 tablespoon rice vinegar for brightness. Cornstarch can be substituted with arrowroot starch at a 1:1 ratio for thickening.
Serving Suggestions
Serve in shallow bowls with extra green onions and a wedge of lime for brightness. Pair with simple sides like a crisp cucumber salad or quick-pickled carrots to cut richness. For family-style meals, place a small bowl of chili oil and extra soy sauce on the table. Garnish ideas include toasted sesame seeds, a drizzle of toasted sesame oil, or chopped cilantro for a fresher note. This dish fits casual dinners, potlucks, and packed lunch containers alike.
Cultural Background
While not a traditional single-origin recipe, this preparation draws on pan-Asian stir-fry techniques: high-heat searing, a balanced sweet-salty sauce, and the use of aromatics like garlic and ginger. Dishes combining noodles, protein, and a glossy sauce are staples across East and Southeast Asia, and the sticky glaze here is reminiscent of popular takeout flavors adapted for the home kitchen. It’s a fusion approach that honors those classic textures and flavors while remaining approachable for Western pantries.
Seasonal Adaptations
In spring and summer, toss in blanched sugar snap peas and thin asparagus for brightness. Fall and winter invite heartier additions like roasted shiitake mushrooms or shredded cabbage sautéed until caramelized. For holiday gatherings, add toasted crushed peanuts or cashews for a richer crunch, and consider incorporating seasonal greens such as bok choy to stretch the recipe into a more abundant centerpiece.
Meal Prep Tips
For efficient weekly prep, cook the chicken and sauce and store in portioned containers. Keep noodles separate and store in shallow containers to cool quickly before refrigerating. When ready to eat, reheat chicken and sauce in a skillet and toss with pre-portioned noodles and fresh scallions. Use microwave-safe containers for reheating at the office, but re-toss in a hot pan for the best texture. Label containers with the date and consume within four days for peak quality.
This Sticky Garlic Chicken Noodles recipe is all about speed, balance, and flexible flavors — a dependable favorite that welcomes your personal tweaks. Try it once and you’ll have a new go-to for flavorful, fast dinners that feel special without the fuss.
Pro Tips
Toss cooked noodles with a teaspoon of oil after draining to prevent them from clumping before adding to the skillet.
For a shinier, thicker glaze, mix an extra 1 teaspoon cornstarch with 1 tablespoon water and stir in at the end, simmering until glossy.
Use a hot pan and avoid overcrowding when searing the chicken to encourage browning and development of flavor.
If using rice noodles, follow the package soaking instructions carefully to avoid over-softening; they should be slightly underdone when tossed with the sauce.
This nourishing sticky garlic chicken noodles recipe is sure to be a staple in your kitchen. Enjoy every moist, high protein slice — it is perfect for breakfast or as a wholesome snack any time.
FAQs about Recipes
Can I make this gluten-free?
Yes — use tamari and gluten-free rice noodles to make the dish gluten-free. Reduce added salt if using low-sodium tamari.
What protein alternatives work?
Yes — tofu, shrimp, or thinly sliced beef can be substituted. Adjust cooking time: shrimp needs only 2-3 minutes and tofu benefits from pressing.
Tags
Sticky Garlic Chicken Noodles
This Sticky Garlic Chicken Noodles recipe makes perfectly juicy, tender, and flavorful steak every time! Serve with potatoes and a side salad for an unforgettable dinner in under 30 minutes.
Ingredients
Protein
Sauce
Coating & Thickener
Cooking
Noodles & Garnish
Instructions
Prepare the sauce
In a bowl, whisk together 1/4 cup soy sauce, 3 tablespoons honey, minced garlic, grated ginger, and red chili flakes if using. Taste and adjust seasoning.
Coat the chicken
Toss 1 pound of bite-sized chicken pieces with 2 tablespoons cornstarch until evenly coated. Shake off excess cornstarch to prevent clumping.
Heat the skillet
Heat 2 tablespoons vegetable oil in a large skillet or wok over medium-high heat until shimmering. This ensures a quick sear and good browning.
Cook the chicken
Add the chicken in a single layer and cook 6–8 minutes, turning once until golden and cooked through (165°F internal temperature). Work in batches if needed.
Add and thicken the sauce
Pour the prepared sauce over the hot chicken, stir to coat, and simmer for 2–3 minutes until the sauce thickens and becomes glossy.
Cook noodles and combine
Cook 8 ounces of noodles according to package instructions, drain, toss with a little oil, then add to the skillet and toss with chicken and sauce until evenly coated.
Garnish and serve
Finish with chopped green onions and a sprinkle of sesame seeds. Serve immediately while hot for the best texture and shine.
Last Step: Please leave a rating and comment letting us know how you liked this recipe! This helps our business to thrive and continue providing free, high-quality recipes for you.
Nutrition
Did You Make This?
Leave a comment & rating below or tag
@sararecipes on social media!
Categories:
You might also like...
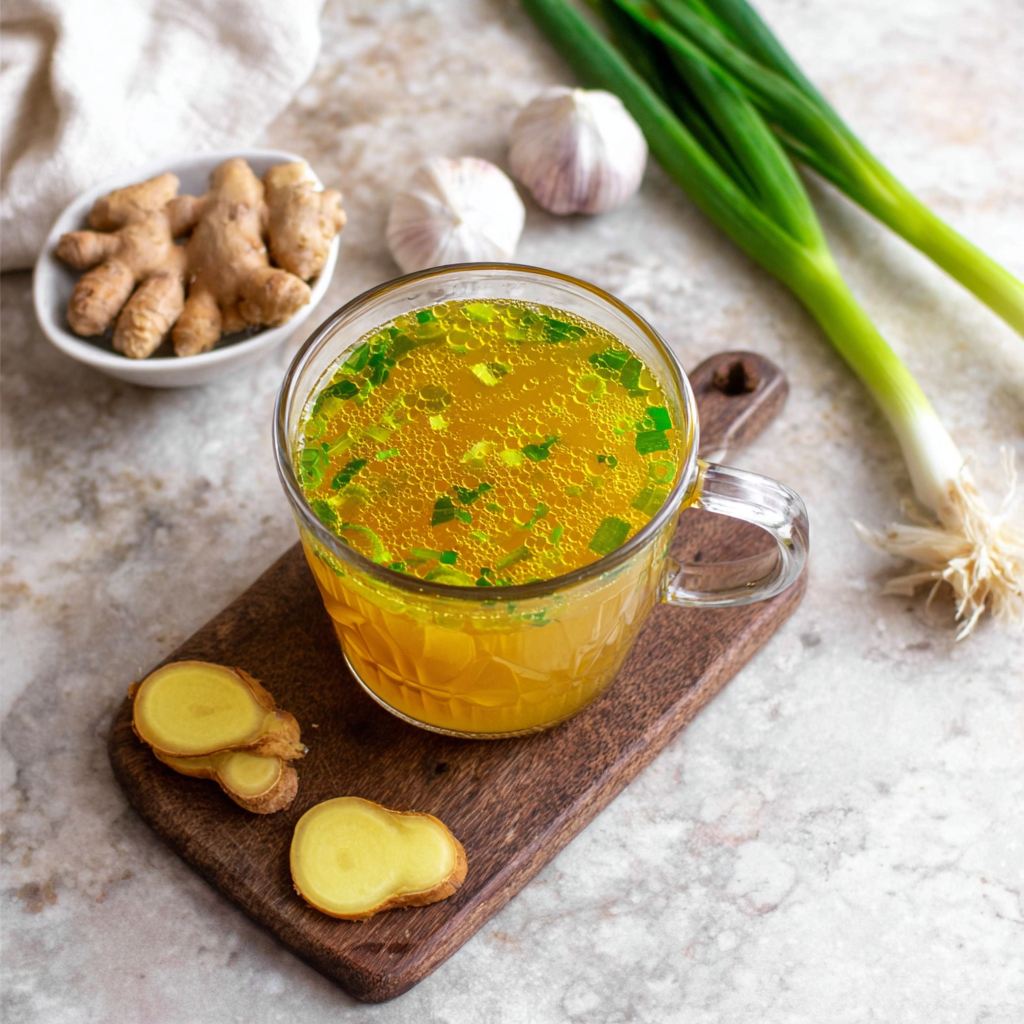
10 Minute Immune Boosting Broth
A bright, restorative broth ready in ten minutes—packed with garlic, ginger, miso and turmeric to support immunity and soothe the soul.
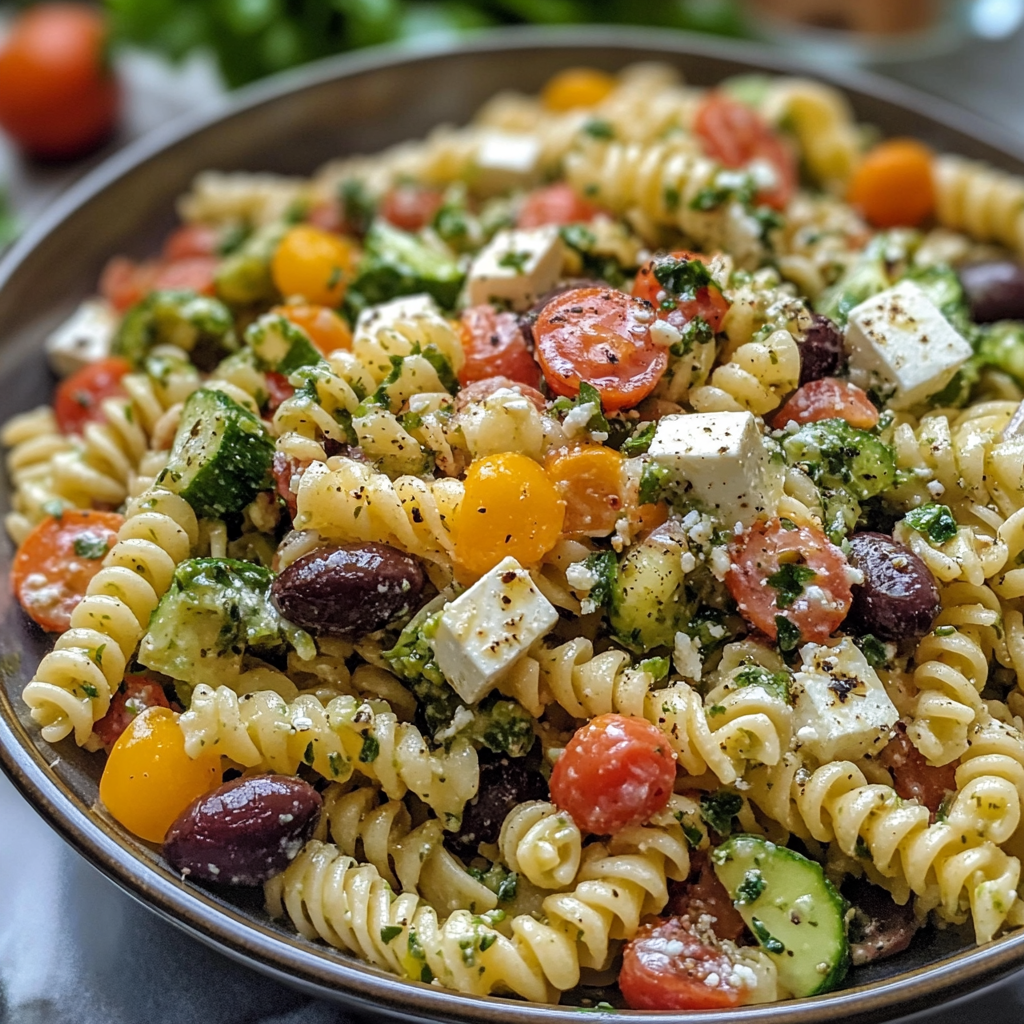
20-Minute Greek Pasta Salad
A bright, 20-minute Greek pasta salad loaded with crisp cucumber, cherry tomatoes, Kalamata olives, feta, and a tangy tzatziki vinaigrette — perfect for summer gatherings or easy meal prep.
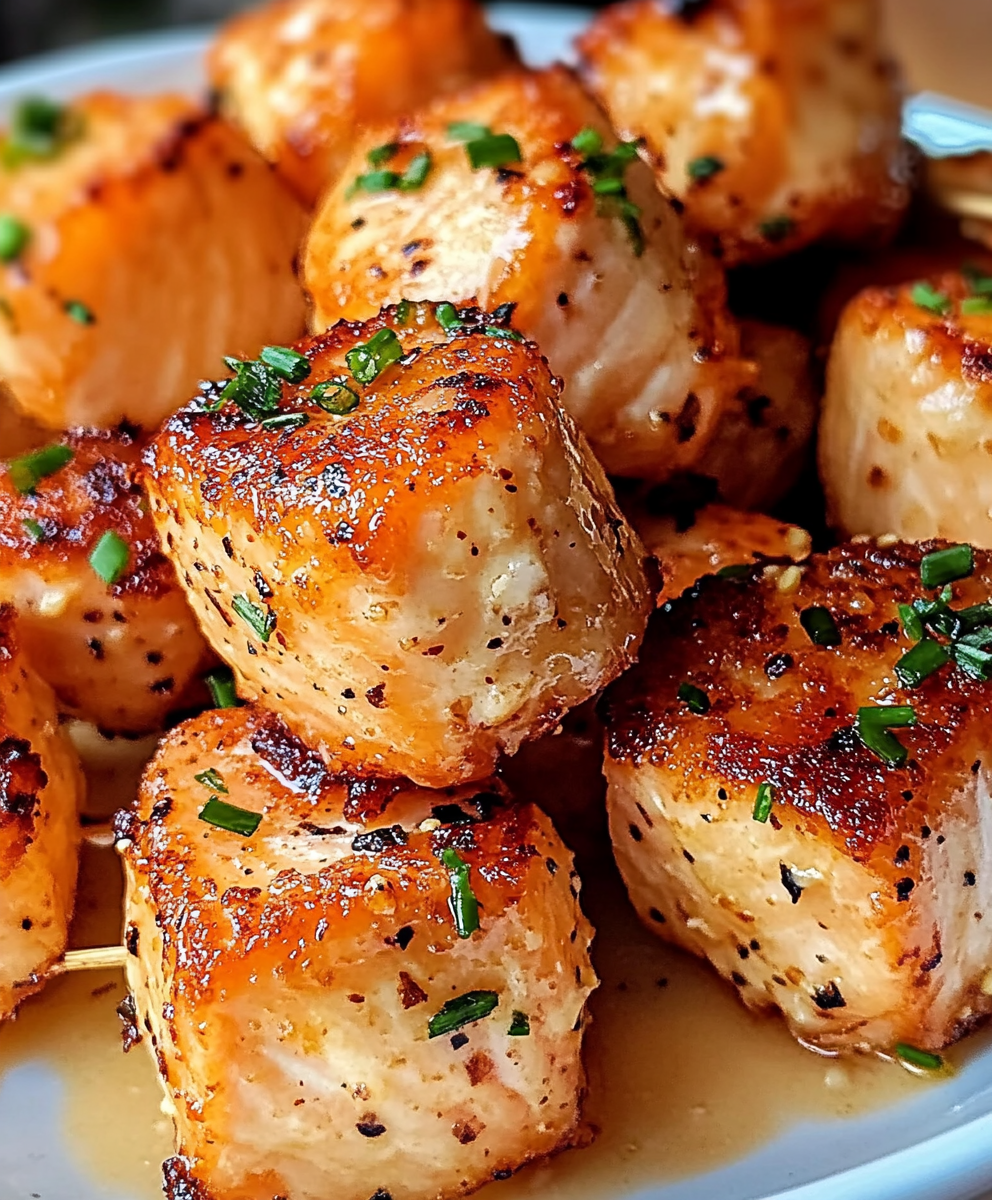
Air Fryer Bang Bang Salmon Bites
Crispy-tender salmon bites tossed in a creamy, sweet-spicy bang bang sauce — ready in about 20 minutes using an air fryer or oven.
Did You Make This?
Leave a comment & rating below or tag @sararecipes on social media!
Rate This Recipe
Share This Recipe
Enjoyed this recipe? Share it with friends and family, and don't forget to leave a review!
Comments (1)
This recipe looks amazing! Can't wait to try it.
Comments are stored locally in your browser. Server comments are displayed alongside your local comments.
Hi, I'm Sara!
What's Popular
30-Minute Meals!
Join to receive our email series which contains a round-up of some of our quick and easy family favorite recipes.