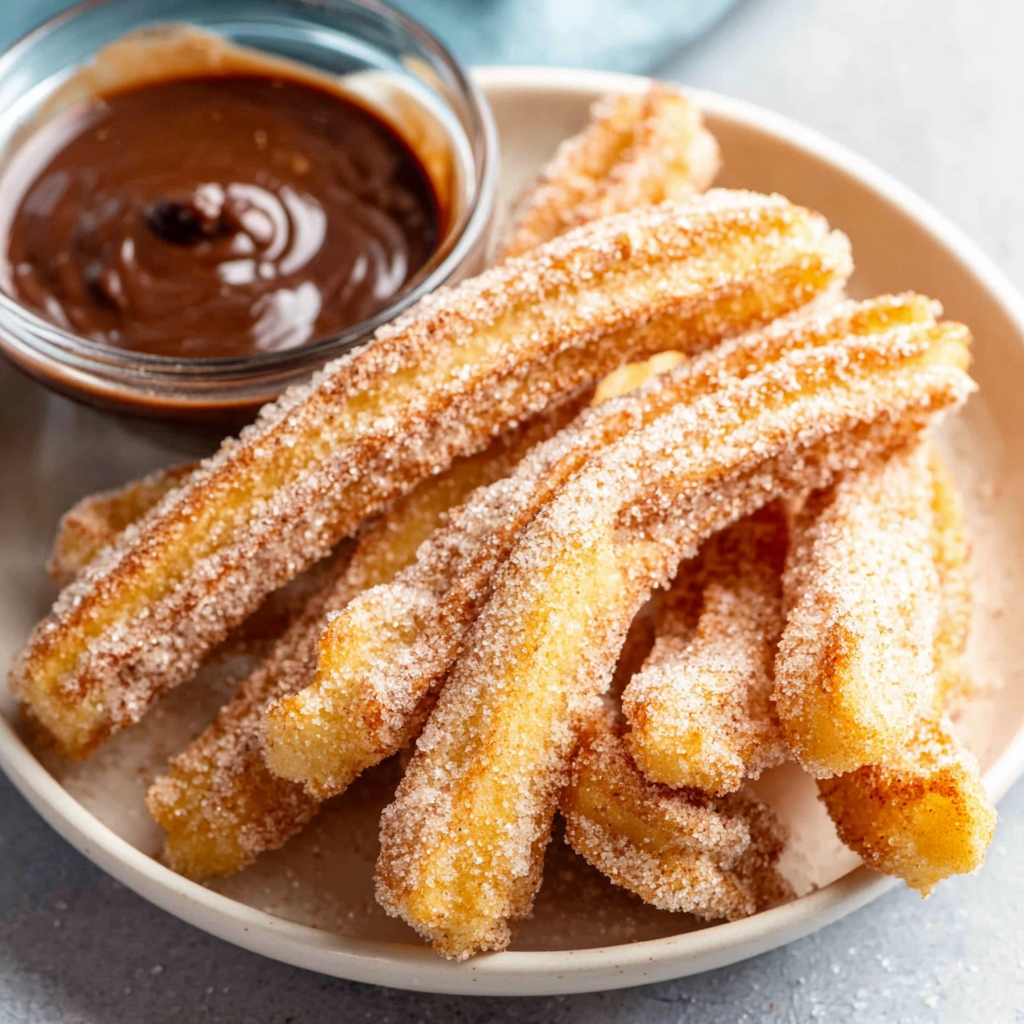
French Cruller Donuts

Light, airy crullers with a crisp golden shell and tender, melt-in-your-mouth interior — Patricia Martinescu's beloved classic from Bake Cook Repeat.
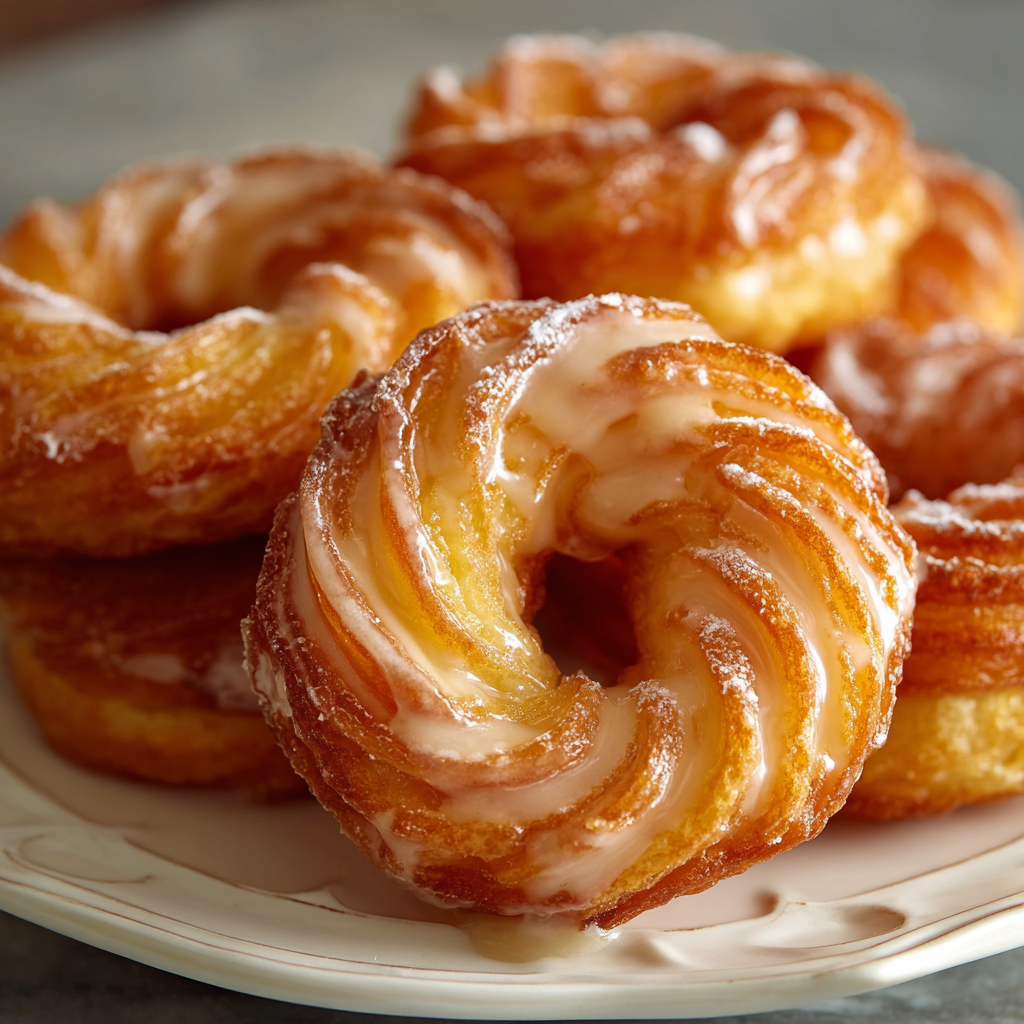
This recipe is my love letter to the lightest, airiest fried treat I know: French cruller donuts. I first tasted a perfect cruller at a small bakery while traveling years ago, and the delicate texture haunted me until I recreated it at home. Patricia Martinescu's version from Bake Cook Repeat uses a classic choux-based dough to produce donuts with a lacy, ridged exterior and an interior so tender it practically dissolves on the tongue. They are crisp, slightly sweet, and utterly irresistible when dipped in a thin, glossy glaze.
I discovered this method during a weekend experiment when I wanted something special for Sunday morning coffee. The first batch puffed up beautifully and my family hovered around the cooling rack as the glaze set, stealing one warm donut after another. Because these are made from choux, they are different from yeasted or cake-style donuts — lighter and hollow in the middle, like a miniature fried cream puff shaped into a ring. The technique takes a little attention to detail, but the payoff is enormous: impressive-looking pastries with humble ingredients and bakery-worthy texture.
Why You'll Love This Recipe
- These form from a choux-based batter, producing the lightest, air-filled rings that feel delicate but hold their shape during frying.
- Ready in under two hours including chilling, with only about 20 minutes of active prep time — perfect for a special weekend breakfast or dessert.
- Uses pantry staples: flour, eggs, butter, milk, and powdered sugar for the glaze, so you rarely need a special shopping trip.
- Make-ahead friendly: the dough must chill for at least an hour, which is great for prepping the day before frying if you’re short on time in the morning.
- Crowd-pleaser: the airy texture and thin sweet glaze make them popular with adults and kids alike — they disappear quickly at gatherings.
- Versatile: keep them classic with a simple glaze or dress them up with citrus zest, chocolate drizzle, or a dusting of cinnamon sugar.
When I first made these, my partner declared them the best donuts he’d ever had at home, and friends requested the recipe after tasting them warm from the rack. The baking technique taught me to watch for very specific visual cues — the choux should pull away from the pan leaving a faint film, and the dough must be warm but not hot when you add eggs. Those small details make a huge difference to the final texture.
Ingredients
- All-purpose flour: 1 cup plus 2 tablespoons, spooned and leveled. Use King Arthur or another unbleached brand for consistent results; the flour gives the structure that allows the rings to puff without collapsing.
- Milk: 1/2 cup whole milk. Fat adds tenderness and flavor — you can use reduced-fat, but whole milk yields a silkier dough.
- Water: 1/2 cup. Combined with milk for the choux liquid base to create steam during frying, which produces the hollow, airy interior.
- Unsalted butter: 1/2 cup (1 stick). Salted butter can be used but reduce added salt; butter provides richness and helps form the glossy shell.
- Large eggs: 4. Add one at a time into the slightly cooled paste for proper emulsification — eggs create structure and lift.
- Granulated sugar: 2 teaspoons. A touch of sweetness in the dough balances the glaze.
- Vanilla extract: 1/2 teaspoon. Adds depth and warm aromatic notes.
- Salt: Pinch up to 1/2 teaspoon, to taste. Enhances flavor and balances sweetness.
- Oil for frying: Vegetable or canola oil, enough for a 3-inch deep frying bath. Neutral oils with a high smoke point work best.
- For the glaze: 2 cups powdered sugar and about 2 tablespoons hot water. Adjust water to reach a thin, pourable consistency for dipping.
Instructions
Make the choux base: In a medium saucepan combine the milk, water, butter, sugar, vanilla, and salt. Heat gently until the butter melts and the liquid simmers. Remove from heat and add the flour all at once, stirring vigorously with a wooden spoon until the mixture forms a smooth ball and pulls away from the pan. You should see a thin film forming on the bottom of the pan — that indicates the moisture has cooked off enough. Cool and incorporate eggs: Transfer the paste to the bowl of a stand mixer fitted with the paddle, or a large heatproof bowl. Let it cool 4–5 minutes; it should still feel warm but not hot. With the mixer on medium speed, add eggs one at a time, fully incorporating each before adding the next. The final dough will be glossy, sticky, and pipeable. If mixing by hand, beat vigorously until smooth and shiny. Chill the dough: Place the dough in a bowl and press plastic wrap directly to the surface to prevent a skin. Refrigerate for at least 1 hour — this firms the dough and improves piping control. This step is essential for consistent puffing during frying. Prepare oil and piping setup: Heat oil in a deep, heavy-bottom pot or Dutch oven to 340–345°F (171–174°C). Use a candy or deep-fry thermometer for accuracy. Fit a piping bag with a large star tip (Patricia uses a #2C drop flower tip) and fill it halfway with dough. Trace 3-inch circles on parchment to use as guides and cut into individual squares. Pipe the crullers: Pipe a thick ridged ring on each parchment circle, overlapping the ends. There should be enough dough for about 10–13 rings depending on size. Keep the bag twisted so the dough doesn’t spill out while you work. Fry carefully: Gently lower 2–3 rings at a time (depending on pot size) into the oil. The oil should bubble immediately; if it darkens instantly, reduce heat. After about 10 seconds the parchment will lift away — remove it with tongs. Fry 2–3 minutes per side, turning once, for a total of up to 6 minutes. Transfer to a wire rack set over a baking sheet. Glaze and finish: Whisk powdered sugar with hot water until smooth and slightly thin. While the crullers are still warm, dip the tops into the glaze and return to the rack to allow excess to drip off. The glaze will set quickly into a tender shell.
You Must Know
- These are made from choux — steam creates the airy interior, so oil temperature and a chilled dough are both critical to success.
- They freeze well for up to 3 months unglazed; reheat in a 350°F oven for 6–8 minutes to refresh before glazing.
- Frying temperature should be maintained between 340–345°F to ensure even browning without absorbing excess oil.
- Nutrition: approximately 311 calories per piece; treat these as an occasional indulgence rather than an everyday snack.
My favorite part of making these is the moment they first hit the oil and puff: the dough transforms within seconds, ridges expanding into crisp golden waves. Friends who grew up with yeasted donuts often tell me these feel lighter and somehow more elegant. They make weekend mornings feel celebratory without the fuss of laminated dough or long rises.
Storage Tips
Store glazed crullers at room temperature in an airtight container for up to 24 hours to keep the exterior crisp and the interior tender. For longer storage, separate unglazed rings in a single layer and freeze for up to 3 months; wrap individually in plastic and place in a freezer-safe bag. To refresh after freezing, thaw at room temperature and reheat in a 350°F oven for 6–8 minutes. Avoid refrigeration if possible — it softens the exterior and can make them chewy.
Ingredient Substitutions
If you need dairy-free results, use a plant-based butter substitute and a nondairy milk like oat or soy; the texture will be slightly different but still airy. For a lower-sugar glaze, swap half the powdered sugar for powdered erythritol, but expect a less glossy finish. You can use margarine in a pinch, but choose a high-fat block-style margarine rather than a tub for better structure. Do not substitute gluten-free flour directly — choux relies on wheat starch and gluten; use a tested gluten-free choux blend or follow a dedicated gluten-free version.
Serving Suggestions
Serve warm with coffee or a light espresso. For brunch, plate with fresh berries, whipped cream, and a bowl of citrus curd for dipping. Garnish with grated lemon zest or a dusting of powdered sugar for a bright contrast to the sweet glaze. For a party, offer a small topping station: warmed chocolate sauce, chopped toasted nuts, and flavored glazes such as maple or espresso.
Cultural Background
French crullers trace their technique to classic choux pastry traditions found in France, adapted into a ring shape and fried rather than baked. They share lineage with pâte à choux creations like éclairs and cream puffs, and over time the term 'cruller' has come to describe a variety of ridged rings in European and American bakeries. Patricia Martinescu's method brings a modern home-kitchen approach to this elegant pastry, simplifying piping and frying while keeping the authentic airy texture.
Seasonal Adaptations
Adjust the glaze for seasons — in winter, add a hint of cinnamon and orange zest; in spring, use a light lemon or elderflower glaze. For autumn, swap some of the powdered sugar with pumpkin spice and finish with a maple glaze. You can fold finely grated citrus zest into the dough for a subtle, fragrant lift in warmer months.
Meal Prep Tips
Prepare the dough the night before and refrigerate; pipe and fry in the morning for the freshest texture. Dough will keep chilled for up to 24 hours tightly covered. If you’re making large batches, fry in small batches and keep finished rings on a rack in a low oven (200°F) to stay slightly warm without overbrowning while you finish frying the rest.
These crullers are the kind of recipe that rewards attention. Follow the temperature and chilling notes, and you’ll be rewarded with incredibly light, bakery-worthy rings that are perfect for special breakfasts or an elegant dessert. Share them warm, and expect requests for the recipe.
Pro Tips
Weigh dry ingredients if possible for the most consistent results; fluffed cup measurements will vary between bakers.
Chill the dough for at least 1 hour to firm it up — piping warm dough will spread and produce misshapen rings.
Maintain oil temperature between 340–345°F; use a thermometer and adjust heat to avoid soggy or overly browned donuts.
Use a heavy-bottomed pot or Dutch oven for even oil temperature distribution and safer frying.
This nourishing french cruller donuts recipe is sure to be a staple in your kitchen. Enjoy every moist, high protein slice — it is perfect for breakfast or as a wholesome snack any time.
Tags
French Cruller Donuts
This French Cruller Donuts recipe makes perfectly juicy, tender, and flavorful steak every time! Serve with potatoes and a side salad for an unforgettable dinner in under 30 minutes.
Ingredients
Donuts
Glaze
Instructions
Make the choux base
Combine milk, water, butter, sugar, vanilla, and salt in a saucepan. Heat until butter melts and mixture simmers. Remove from heat and add flour all at once, stirring until the mixture forms a ball and pulls away from the pan with a thin film on the bottom.
Cool and add eggs
Transfer to a stand mixer bowl and cool 4–5 minutes. With the mixer on medium, add eggs one at a time, fully incorporating each. Dough should be glossy, sticky, and pipeable.
Chill the dough
Press plastic wrap directly onto the dough surface and refrigerate for at least 1 hour to firm the mixture and improve piping control.
Prepare oil and piping setup
Heat oil in a heavy pot to 340–345°F. Fit a piping bag with a large star tip and trace 3-inch circles on parchment paper as piping guides.
Pipe the crullers
Pipe thick ridged rings onto individual parchment squares, overlapping the ends. Ensure rings are uniform in size for even frying.
Fry the donuts
Lower 2–3 rings into the oil at a time. After about 10 seconds the parchment will lift away; remove it with tongs. Fry 2–3 minutes per side, up to 6 minutes total, until golden.
Glaze and cool
Whisk powdered sugar with hot water until thin and smooth. Dip warm crullers' tops into the glaze and set on a wire rack to allow excess to drip off and the glaze to set.
Last Step: Please leave a rating and comment letting us know how you liked this recipe! This helps our business to thrive and continue providing free, high-quality recipes for you.
Nutrition
Did You Make This?
Leave a comment & rating below or tag
@sararecipes on social media!
Categories:
You might also like...
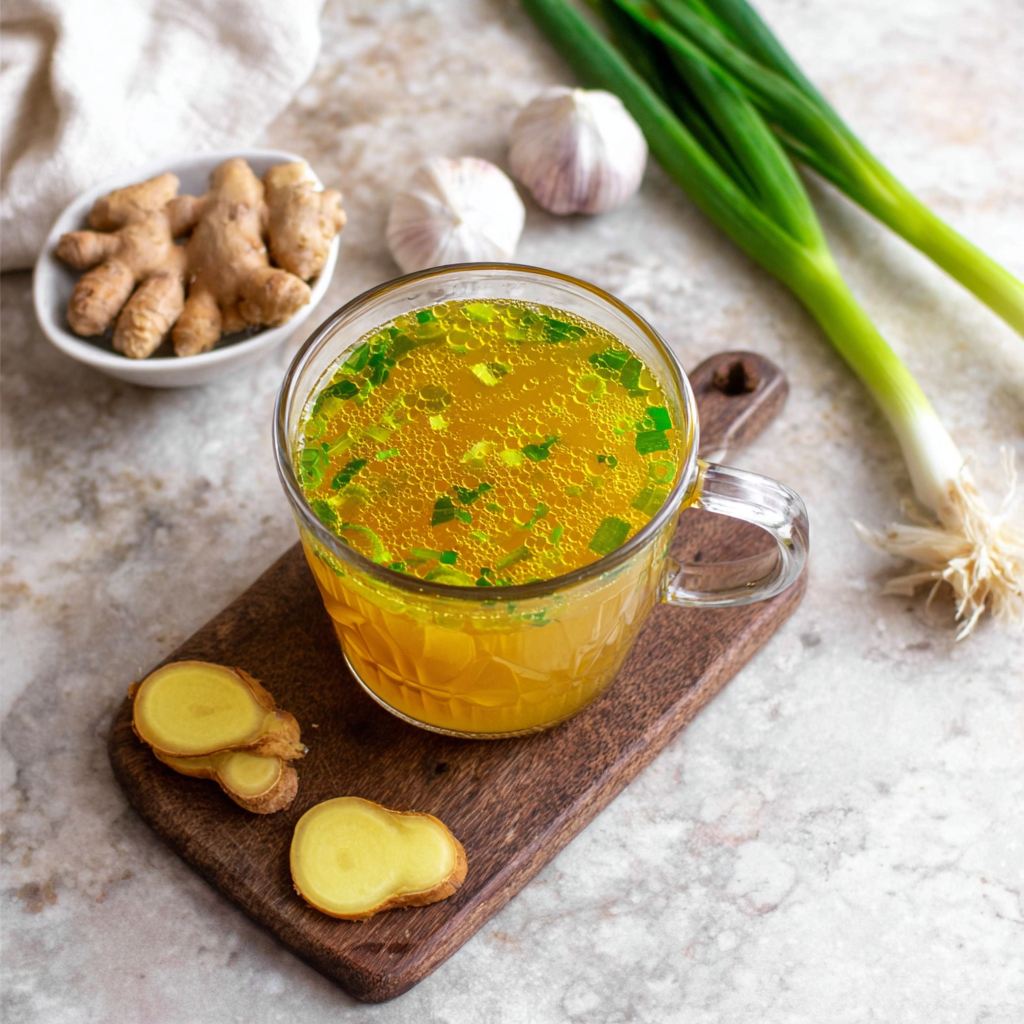
10 Minute Immune Boosting Broth
A bright, restorative broth ready in ten minutes—packed with garlic, ginger, miso and turmeric to support immunity and soothe the soul.
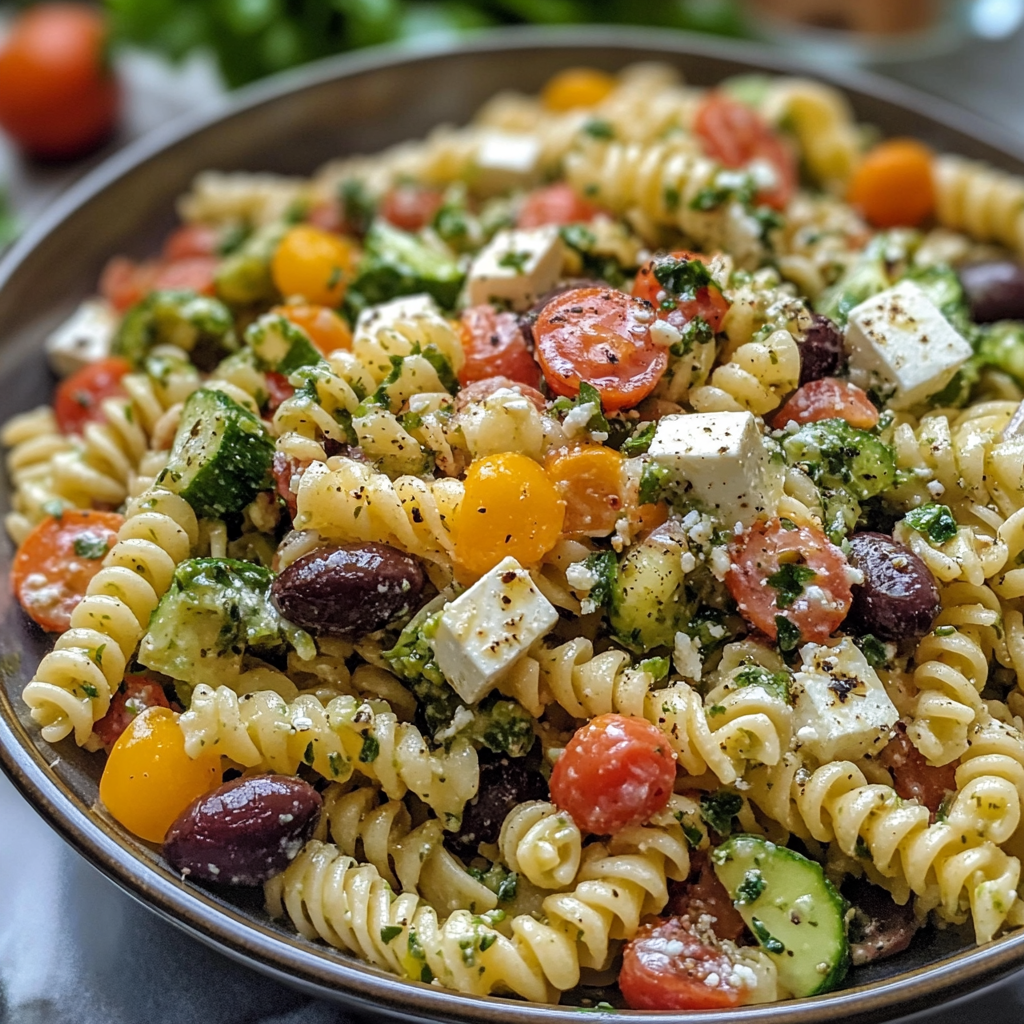
20-Minute Greek Pasta Salad
A bright, 20-minute Greek pasta salad loaded with crisp cucumber, cherry tomatoes, Kalamata olives, feta, and a tangy tzatziki vinaigrette — perfect for summer gatherings or easy meal prep.
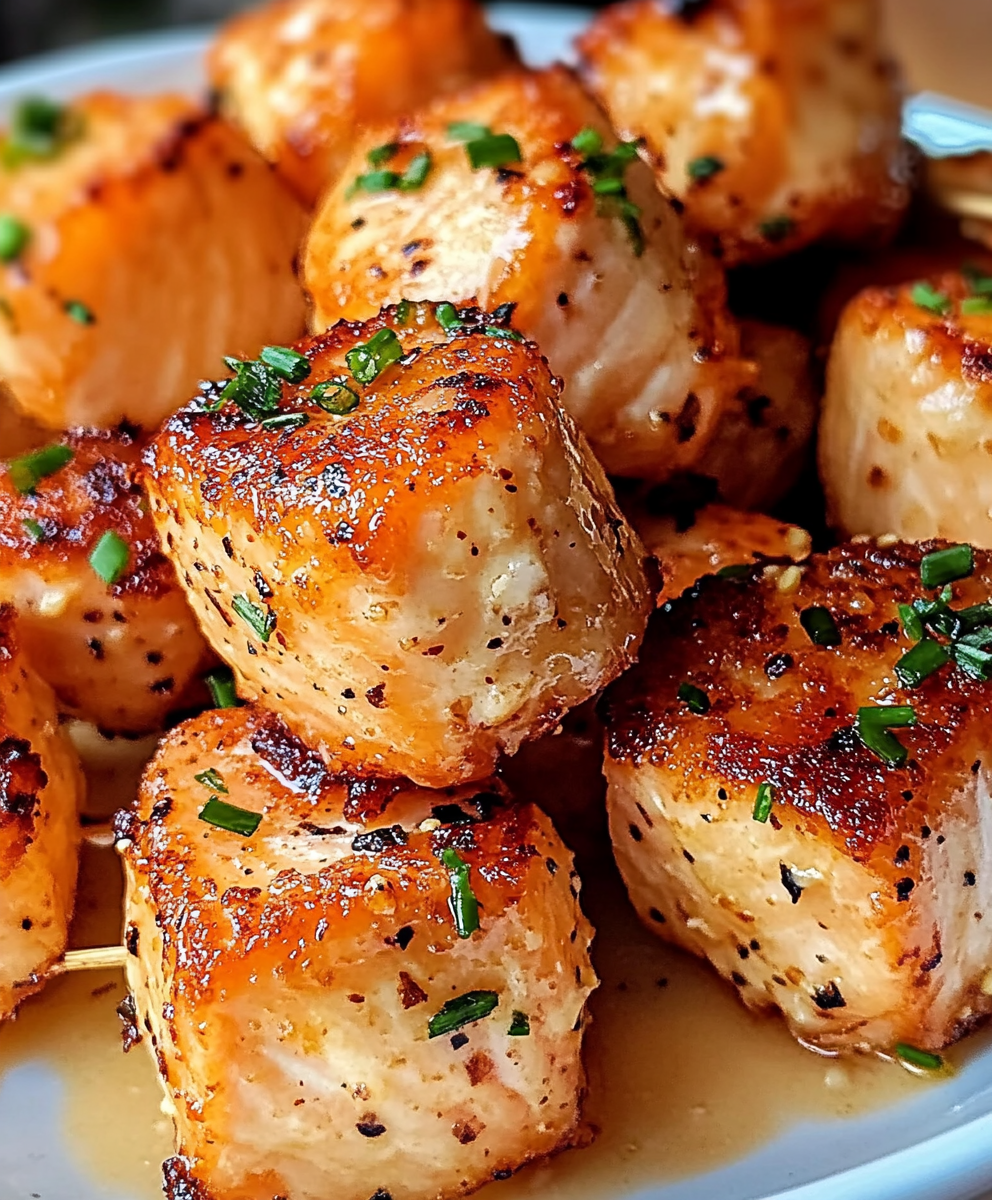
Air Fryer Bang Bang Salmon Bites
Crispy-tender salmon bites tossed in a creamy, sweet-spicy bang bang sauce — ready in about 20 minutes using an air fryer or oven.
Did You Make This?
Leave a comment & rating below or tag @sararecipes on social media!
Rate This Recipe
Share This Recipe
Enjoyed this recipe? Share it with friends and family, and don't forget to leave a review!
Comments (1)
This recipe looks amazing! Can't wait to try it.
Comments are stored locally in your browser. Server comments are displayed alongside your local comments.
Hi, I'm Sara!
What's Popular
30-Minute Meals!
Join to receive our email series which contains a round-up of some of our quick and easy family favorite recipes.