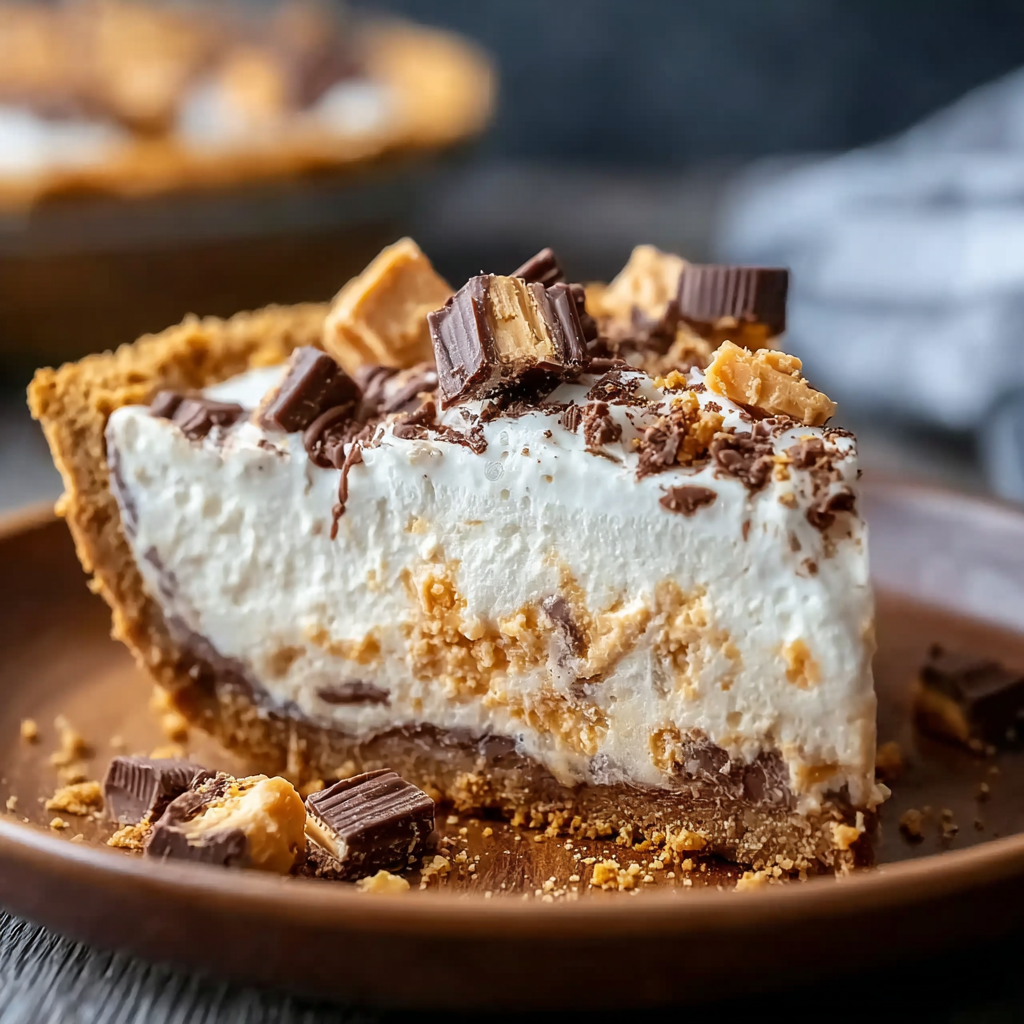
Butterfinger Pie

A cool, creamy no-bake pie loaded with chopped Butterfinger bars and peanut butter cream — easy to make, crowd-pleasing, and perfect for parties.
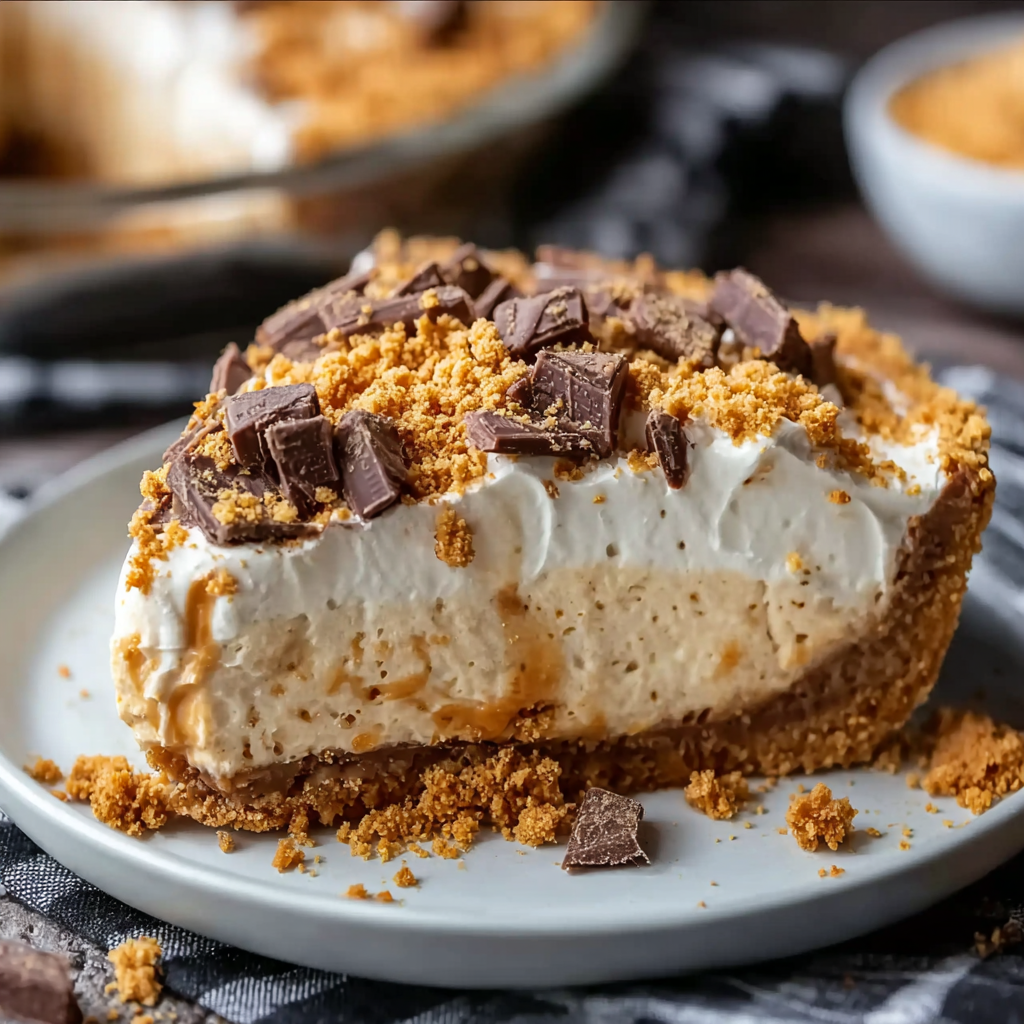
This Butterfinger pie has been a weekend showstopper in my house ever since I first made it on a lazy Sunday afternoon. I discovered the combination while cleaning out the pantry: a bag of fun-size Butterfinger bars, an 8-ounce block of cream cheese, and a container of Cool Whip. The result was so rich, creamy, and candy-forward that it immediately became my go-to dessert for birthdays and potlucks. The texture is a dreamy contrast: a silky peanut-butter cream filling studded with crisp, flaky Butterfinger pieces, all resting in a chocolate cookie or graham crust.
I love how simple this comes together — no baking required — which means you can assemble it in about 15 minutes and let the refrigerator finish the work. Every forkful delivers crunchy candy shards and a smooth, mousse-like filling. My kids declared it "the best pie ever," and friends have often asked for the recipe after one bite. It’s a perfect example of how a few high-quality, familiar ingredients can yield something unexpectedly special.
Why You'll Love This Recipe
- Ready in about 15 minutes of hands-on time — ideal for busy hosts who need a dessert that’s fast but impressive.
- Uses pantry staples and a store-bought crust for convenience; keep a bag of candy and a tub of Cool Whip on standby.
- No-bake and kid-friendly: little helpers can crush candy and fold ingredients without handling heat.
- Make-ahead friendly: it chills beautifully and actually slices neater if refrigerated at least 4 hours or overnight.
- Crowd-pleaser that travels well — bring it to potlucks or summer barbecues where refrigeration is available.
- Customizable: swap peanut butter for almond butter, or use a gluten-free crust to suit dietary needs.
Personally, I’ve tested this with both an Oreo-style cookie crust and a chocolate graham crust; each gives a slightly different chocolate-to-peanut-butter balance. Family reactions were immediate: silence, then the unmistakable chorus of "more!" I love serving this after a heavy meal because it feels light in preparation but indulgent in flavor.
Ingredients
- Cream cheese (1 8-ounce package): Bring to room temperature so it blends silky-smooth. I prefer full-fat Philadelphia for the best texture and flavor.
- Peanut butter (1/2 cup): Use creamy peanut butter like Jif or Skippy for a balanced, spreadable consistency; natural peanut butter can be used but may alter the texture and require a bit more mixing.
- Vanilla extract (2 teaspoons): Pure vanilla adds aromatic depth that brightens the peanut-butter notes; don’t substitute artificial vanilla if you can avoid it.
- Powdered sugar (1 1/2 cups): Also called confectioners’ sugar, it sweetens and stabilizes the filling — sift if lumpy.
- Butterfinger bars (12.5-ounce bag fun-sized): Crush all but 2 bars for folding into the filling; reserve 2 for a crunchy topping. You’re aiming for small chunks, not dust.
- Cool Whip (8-ounce container), thawed: The light, aerated texture keeps the filling mousse-like; make sure it’s fully thawed for easy folding.
- Store-bought crust: One 9-inch Oreo or chocolate graham cracker crust — Keebler or similar. A graham crust gives a milder sweetness, while an Oreo crust amplifies chocolate contrast.
Instructions
Step 1 — Soften and combine the base: Remove the cream cheese from the refrigerator at least 30 minutes beforehand to reach room temperature, making it easier to whip smooth. In a large mixing bowl, use a hand-held electric mixer on medium speed to beat the cream cheese until it’s completely smooth with no lumps, about 1 to 2 minutes. Softening properly ensures a velvety mouthfeel and prevents graininess when the sugar is added. Step 2 — Add peanut butter and vanilla: Add 1/2 cup creamy peanut butter and 2 teaspoons pure vanilla extract to the whipped cream cheese. Beat at medium speed until thoroughly combined and homogenous, scraping down the bowl with a rubber spatula as needed. The peanut butter should integrate fully, giving the mixture a uniform pale tan color. Step 3 — Sweeten with powdered sugar: Gradually add 1 1/2 cups powdered sugar while mixing on low speed to prevent a sugar cloud. Once incorporated, increase speed briefly to smooth out the filling. Taste and adjust sweetness if necessary — keep in mind the candy will add extra sugar. Step 4 — Fold in chopped Butterfinger: Place the fun-size Butterfinger bars in a zipper bag and crush briefly with a rolling pin or pulse 2–3 times in a food processor for even pieces. Reserve two whole bars for topping. Fold the crushed candy into the peanut-butter mixture with a spatula to preserve some crunch — avoid overmixing, which would make the candy soggy. Step 5 — Fold in Cool Whip: Gently fold 1 (8-ounce) container of thawed Cool Whip into the mixture using a light hand so the airiness remains. This step creates the light, mousse-like texture that makes each bite feel decadent rather than dense. Step 6 — Assemble and chill: Spread the filling evenly into the pre-made crust, smoothing the top with an offset spatula. Crumble the reserved Butterfinger bars over the surface for a decorative crunch. Cover tightly with plastic wrap and refrigerate for at least 4 hours, preferably overnight, to set completely. Proper chilling firms the filling and allows clean slices.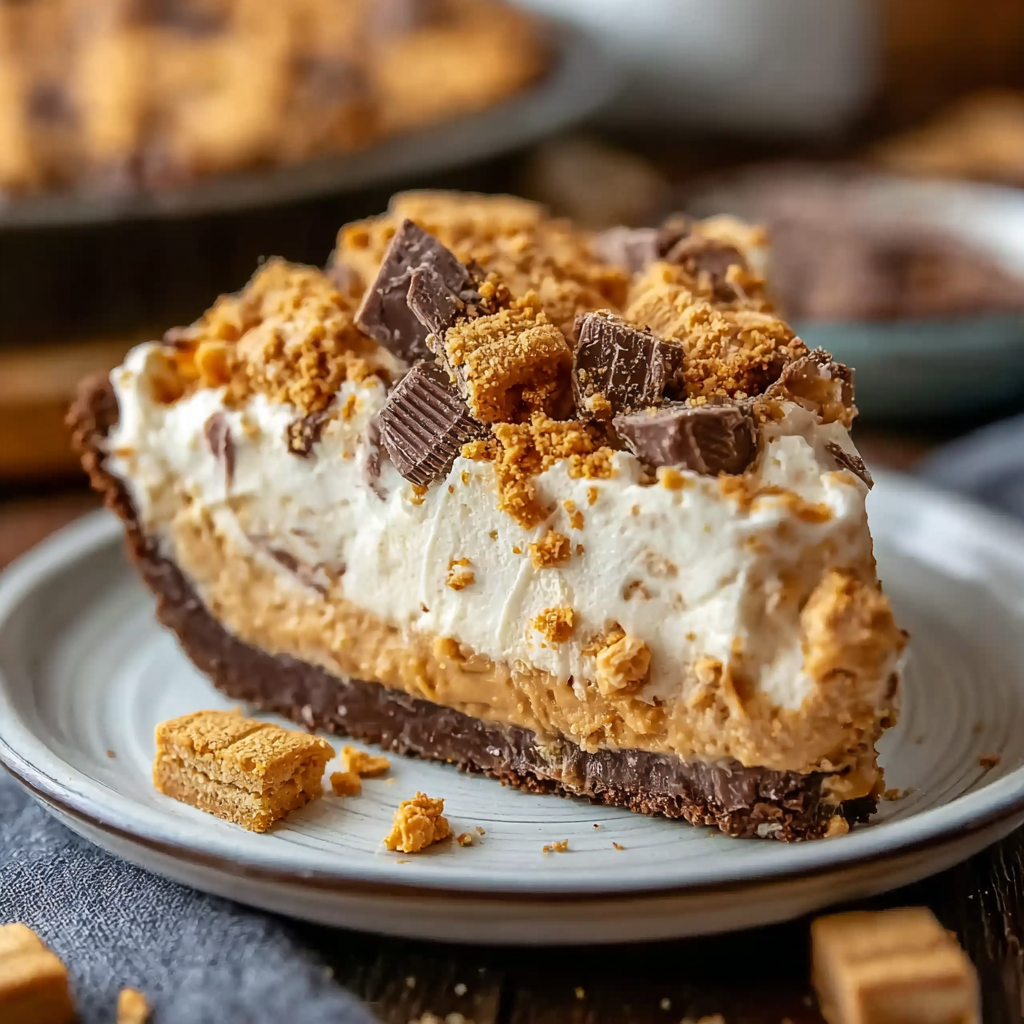
You Must Know
- This dessert is high in calories and sugar; one slice (1/8 pie) contains approximately 657 calories and 58 grams of sugar, so serve in moderation.
- Refrigerate for at least 4 hours for best slicing; it keeps in the fridge for up to 4 days when covered tightly.
- Freezing is possible for up to 3 months — wrap the whole pie in two layers of plastic and a layer of foil; thaw overnight in the refrigerator before serving.
- Contains peanuts, dairy, and gluten if using a standard cookie or graham crust; adapt the crust for allergies.
My favorite part of this recipe is how the Butterfinger candy stays crisp long enough to provide satisfying texture — not a soggy candy mash. I once took this to a family reunion and it disappeared within 20 minutes; a cousin tried to trade a store-bought cake for it, which I proudly declined. Simple, nostalgic, and ridiculously moreish.
Storage Tips
Store the pie in the refrigerator covered tightly with plastic wrap or in an airtight cake container to prevent it from absorbing fridge odors. Sliced portions keep best in shallow airtight containers lined with parchment for up to 3–4 days. If you freeze slices, flash-freeze them on a tray first for 1 hour, then transfer to a freezer-safe bag for up to 3 months. To serve from frozen, thaw in the refrigerator for 12–24 hours to preserve texture and prevent the Cool Whip component from weeping.
Ingredient Substitutions
If you need to avoid peanuts, substitute the peanut butter with an equal amount of almond butter or sunflower seed butter; sunflower butter is an excellent allergy-friendly option but expect a slightly different flavor profile. Swap Cool Whip for 1 1/2 cups freshly whipped heavy cream stabilized with a tablespoon of powdered sugar and 1 teaspoon of gelatin dissolved in warm water if you prefer less processed ingredients. For a gluten-free option, use a gluten-free chocolate cookie crust or a pressed mixture of gluten-free cookies and melted butter.
Serving Suggestions
Serve chilled slices with a small spoon of slightly warmed caramel sauce or a drizzle of chocolate ganache for added decadence. Garnish with chopped roasted peanuts or a few whole Butterfinger shards for show. This pie pairs beautifully with black coffee or a glass of cold milk; for adults, a shot of espresso or a simple coffee liqueur adds sophistication. It makes an excellent finish to casual dinners, holiday buffets, or summer potlucks where refrigeration is available.
Cultural Background
This candy-studded, no-bake dessert is a modern American creation rooted in the convenience culture of postwar home cooking where pre-made crusts and tubed whipped toppings became popular. Butterfinger candy itself dates back to the 1920s and became iconic for its flaky, peanut-buttery crunch. Combining candy bars into chilled cream fillings is a long-standing tradition in American home baking, reflecting a love of approachable, nostalgic flavors rather than strict culinary lineage.
Seasonal Adaptations
In summer, lighten the pie by folding in lemon zest and reducing powdered sugar slightly for a brighter finish, or top with fresh raspberries to cut richness. Around the holidays, mix in 1/2 teaspoon of ground cinnamon and swap regular Butterfinger bars for a holiday spiced or nutty candy variant. For a spring twist, add a layer of banana slices between the crust and filling for a classic candy-and-fruit combo reminiscent of retro desserts.
Meal Prep Tips
Assemble the filling up to 2 days ahead and keep it in an airtight container in the fridge; fold in the Cool Whip and crushed candy just before filling the crust for maximum crunch. Prepare multiple crusts and freeze them to shorten assembly time for parties. For single servings, spoon the filling into small jars and top with reserved candy — chill until needed for portable dessert options.
In closing, this Butterfinger pie is pure nostalgia with a grown-up finish: effortless to make, endlessly adaptable, and always a conversation starter. Give it a try the next time you want something showy without the fuss — and don’t be surprised when everyone asks for the recipe.
Pro Tips
Bring the cream cheese to room temperature for a lump-free, silky filling.
Fold the Cool Whip gently to retain airy texture and avoid deflating the filling.
Crush the candy into small pieces, not dust, to preserve pleasant crunch.
Chill the pie at least 4 hours; slicing is cleaner when it’s well-set.
If using natural peanut butter, stir well and taste before adding extra sugar.
This nourishing butterfinger pie recipe is sure to be a staple in your kitchen. Enjoy every moist, high protein slice — it is perfect for breakfast or as a wholesome snack any time.
FAQs about Recipes
How long should I chill the pie?
Yes — refrigerate for at least 4 hours, though overnight chilling helps the filling set and makes slicing neater.
How do I prevent the Butterfinger from getting soggy?
To keep the candy crunchy longest, add the crushed Butterfingers shortly before filling the pie and reserve some for garnish on top.
Tags
Recipe data validation failed
Please check the recipe data format. See console for details.
Categories:
You might also like...

10 Minute Immune Boosting Broth
A bright, restorative broth ready in ten minutes—packed with garlic, ginger, miso and turmeric to support immunity and soothe the soul.
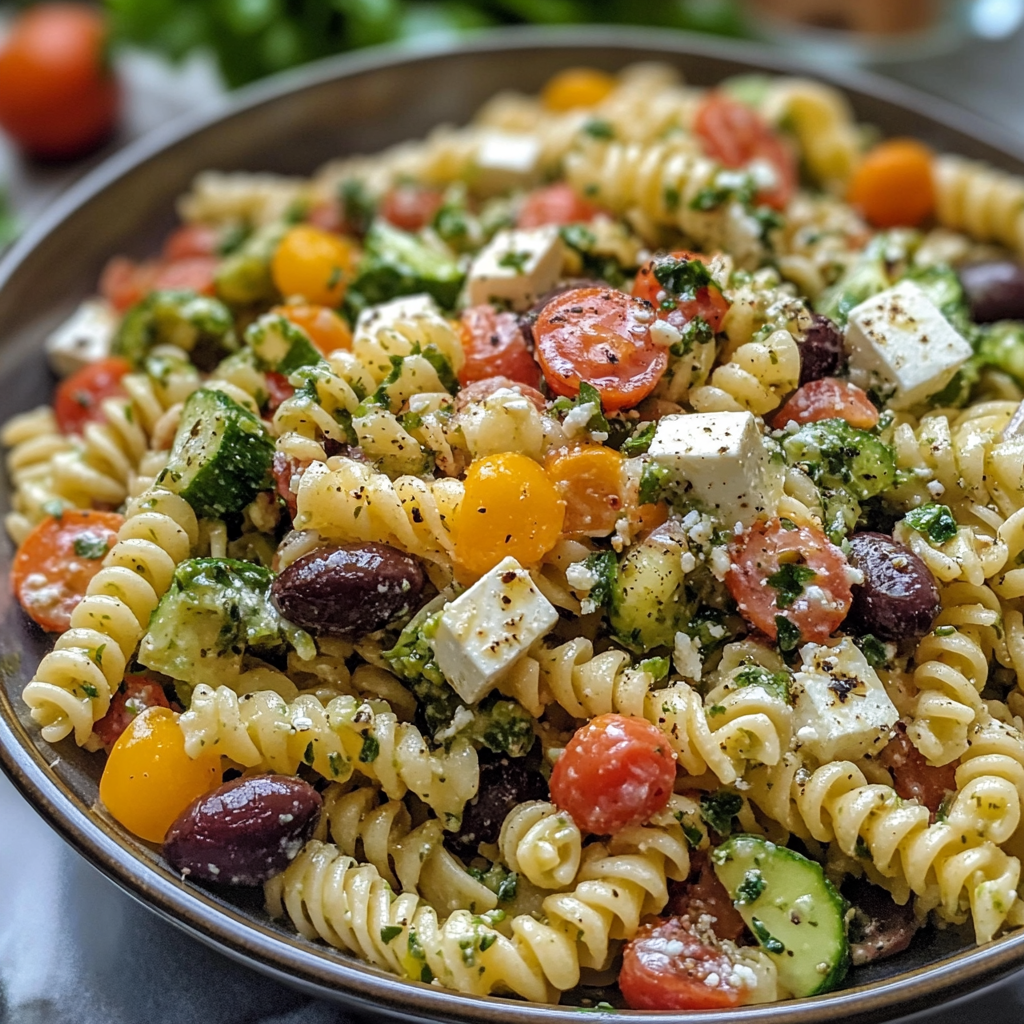
20-Minute Greek Pasta Salad
A bright, 20-minute Greek pasta salad loaded with crisp cucumber, cherry tomatoes, Kalamata olives, feta, and a tangy tzatziki vinaigrette — perfect for summer gatherings or easy meal prep.
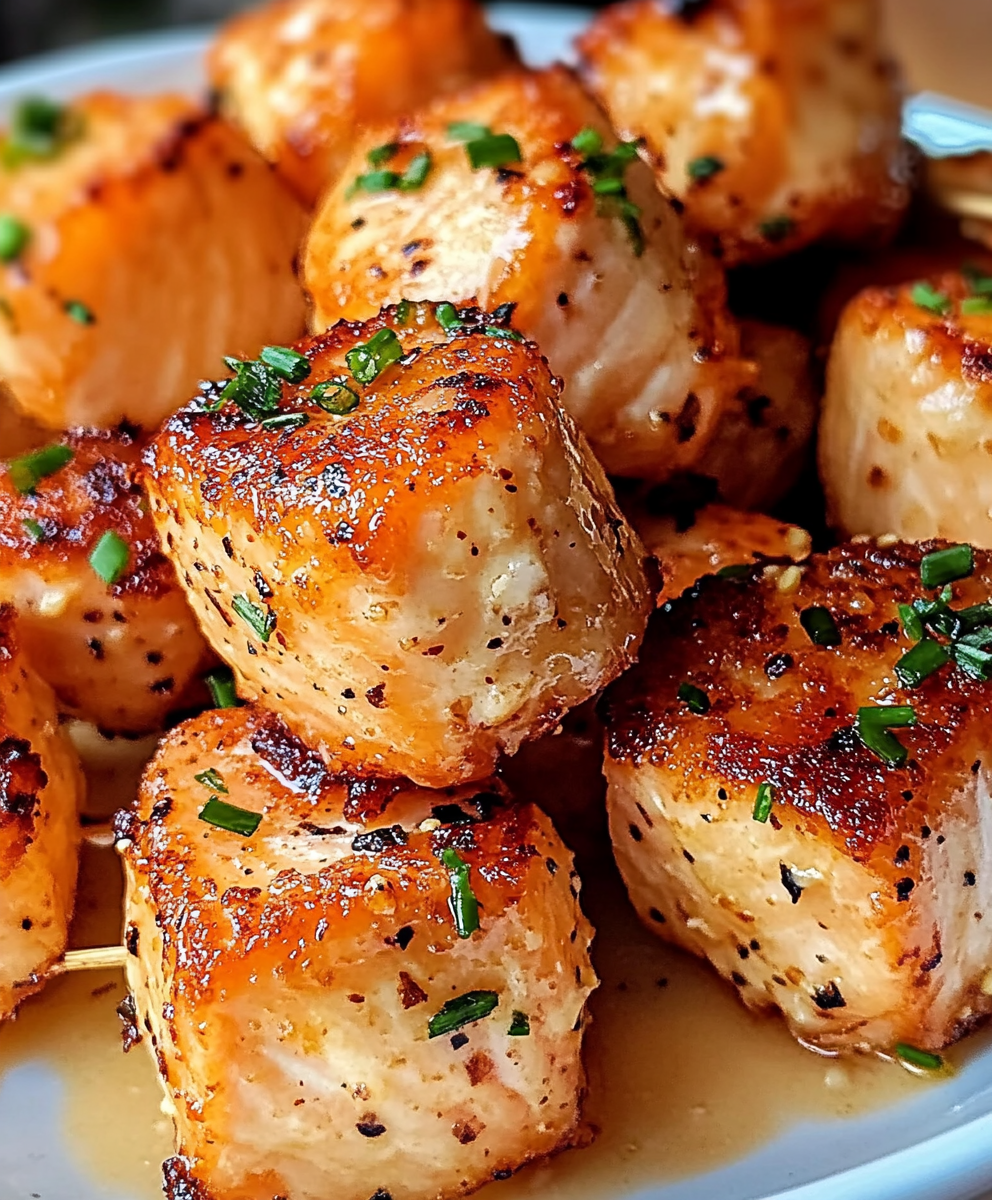
Air Fryer Bang Bang Salmon Bites
Crispy-tender salmon bites tossed in a creamy, sweet-spicy bang bang sauce — ready in about 20 minutes using an air fryer or oven.
Did You Make This?
Leave a comment & rating below or tag @sararecipes on social media!
Rate This Recipe
Share This Recipe
Enjoyed this recipe? Share it with friends and family, and don't forget to leave a review!
Comments (1)
This recipe looks amazing! Can't wait to try it.
Comments are stored locally in your browser. Server comments are displayed alongside your local comments.
Hi, I'm Sara!
What's Popular
30-Minute Meals!
Join to receive our email series which contains a round-up of some of our quick and easy family favorite recipes.